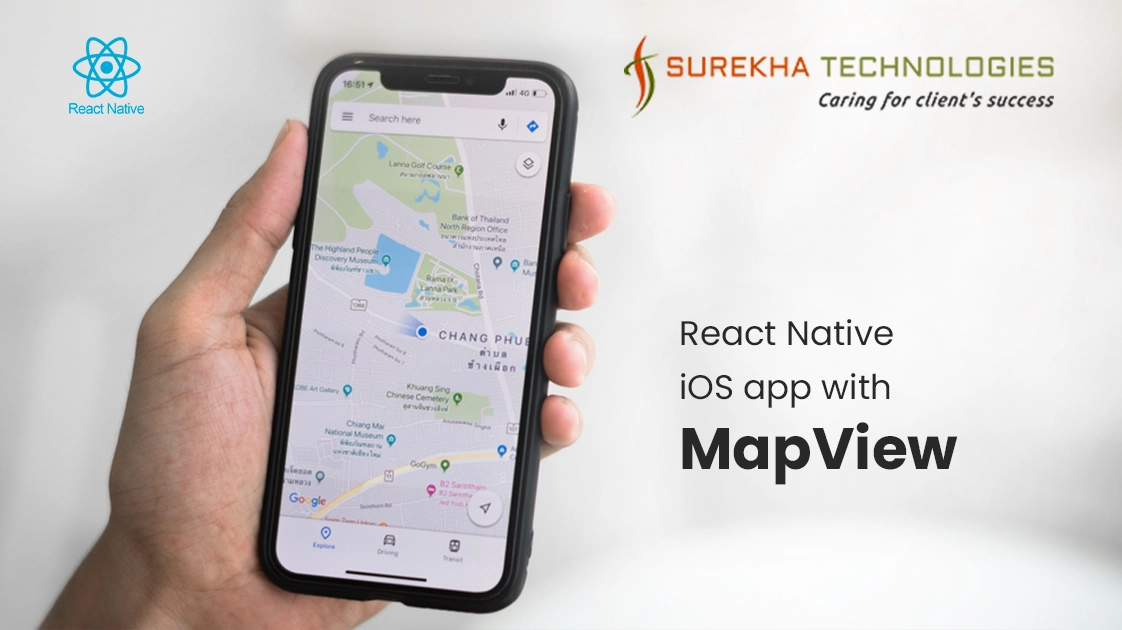
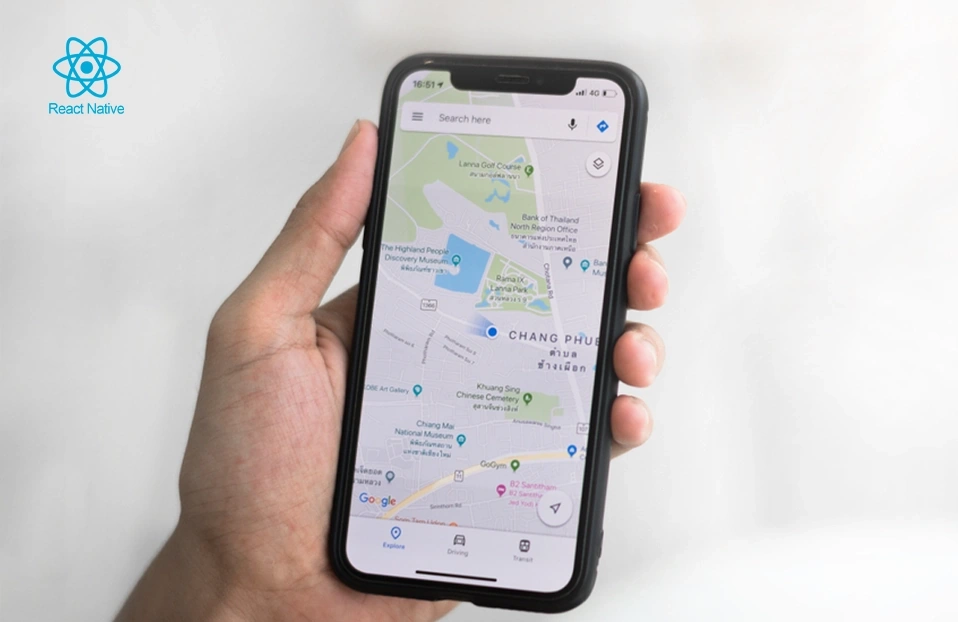
Here we will walk through the sample application showing the content displaying the location of holiday places. When person taps on it, navigated to the location of the place with the annotation in the map.
About this blog
This blog is aimed to provide you step by step guide for creating the application with mapview using React Native.
Prerequisite
- Set up your development environment for using React Native. To know more about React Native follow, how to get started with React Native.
Please verify to run following commands:
- brew install node
- brew install watchman
- npm install -g react-native-cli
By now you are ready to get started if all goes well ..
Setup the Project
You can create a new project with the command:
- react-native init LocationFinder
- cd LocationFinder
- react-native run-ios ( iOS ) or react-native-android (Android)
Running the above simple command one by one, you can see the black default screen for the running application
Creating Navigation
You can get insight of the navigation by the <Button> component’s onPress event.
render() { return (
< View style = {styles.parentView} >
< Button
title = "Show Places"
onPress = {this._onForward} >
</ Button >
</ View >
)
}
In the above code snippet, render() is basic function called when setting up the react native module.
We can access their property directly in the tag the components it is defined. For example title = "Show Places" will set the Button ’s title,
onPress ={ this ._onForward} will set the function _onForward to be called for the onPress event of the Button Component
Navigation is achieved by adding the following snippet
<NavigatorIOS
initialRoute={{
component : LaunchScreen,
title : 'My Initial Scene' ,
}}
style={{ flex : 1 }}
/>
NavigationIOS is for navigation for the iOS, if we are developing the app for the iOS platform only, here for the demo we are using that only.
NavigationIOS creates the NavigationController internally and adds the initial or Root ViewController defined with component in initialRoute.
Working with MapView
We will need to add react-native-maps to provide MapView for displaying the map, callouts and markers. Next go to your project through the terminal and Run following commands.
- npm install react-native-maps --save
- react-native link
Adding the MapView in the App
- Create a new component called MapPlaces in MapPlaces.js
- Add the MapView to be returned from the component’s render method.
MapPlaces.js
render() {
return (
< View style = {styles.container} >
{/* Map*/}
< MapView
style = {styles.map}
// Position on Ahmedabad , Gujarat
initialRegion = {{
latitude: 23.0225 ,
longitude: 72.5714 ,
latitudeDelta: 0.0491 ,
longitudeDelta: 0.0375 ,
}}
/>
</ View >
)}
Adding the Map Annotations data
- Generally working with MapView involves the location mapping and annotation display. Let’s do it.
- We will need to map the data for the same. You can define the some data in .js file with the required format.For this sample example, I have defined the locations data like …
{
name : 'Ahmedabad' ,
image : 'https://upload.wikimedia.org/wikipedia/commons/thumb/0/04/Kankaria_Lake%2C_Ahmedabad.jpg/200px-Kankaria_Lake%2C_Ahmedabad.jpg' ,
coordinate : [23.0225, 72.5714],
good : true ,
}
To map the above data to map annotations we can use component MapView.Marker
<MapView.Marker
coordinate={{
latitude : character.coordinate[0],
longitude : character.coordinate[1],
}}
pinColor={character.good ? '#009688' : '#f44336' }
key={index}
/>
This will add the annotation for each data element defined to our MapView with the specified latitude and longitude.
Showing Map Callout
- To implement callout we need to follow these steps
- ?Add calloutOffset prop to MapView.Marker .
- Add Callout wrapped in MapView.Callout inside MapView.Marker
{ /* Callout */ }
<MapView.Callout tooltip style={styles.callout}>
< Callout
name = {character.name}
image = {character.image}
/>
</ MapView.Callout >
Note: We have created the Callout component for defining our custom style and layout as per our requirement.Please refer to the sample code for the implementation details.
You are done.
When running the application you will see the app screen like below.

Keep yourself updated on React Native Development with blogs from Surekha technologies.
Please visit Mobile App Development Services to quickly connect with us.