Recently, we faced an issue while we tried to access LDAP directory which is configured on LDAP server on external network connection, we did not have permission to access the LDAP directory globally. So to access LDAP directory globally, we need to setup a web based LDAP client. We can access LDAP directory through a web client called phpLDAPadmin which is a web-based LDAP client. Its hierarchical tree view and advanced search functionality makes easy to use your LDAP server via web browser.
I will show you how to install and configure phpLDAPadmin web client to access and administer your LDAP directory. I will show you how to secure our connection to the LDAP directory so outside parties can not intercept our communications. I will also show you how to disable anonymous user login to LDAP directory. I have configured phpLDAPadmin(v1.2.3 ) on “ Ubuntu 12.04 (precise) 64-bit ” system to access LDAP directory through web client.
1.Install phpLDAPadmin:
phpLDAPadmin is available in Ubuntu’s default repository as well as on https://sourceforge.net/projects/phpldapadmin/. To access phpLDAPadmin via domain name, we need Apache web-server. If Apache2 is not installed, first install it via following command:
- sudo apt-get install apache2
After successful installation of apache2, verify apache version with command:
Now, install phpLDAPadmin directly from Ubuntu’s default repository with following command. This command will also install all of the required PHP dependencies.
- sudo apt-get install phpldapadmin
Apart from this, we can manually setup phpLDAPadmin web client by downloading it from https://sourceforge.net/projects/phpldapadmin/ and extract it. If you manually install phpLDAPadmin then you have to install required PHP dependencies as following :
- Install php-5 with ldap support
- sudo apt-get install php5-ldap
- Install php-5 cli
- sudo apt-get install php5-cli
- Install php5 module in apache
- sudo apt-get install php5 libapache2-mod-php5
- Make sure mod php is enabled in apache
Rename unzipped directory and move it to /var/www/ directory with following commands:
- Rename: sudo mv phpldapadmin-1.2.3 phpldapadmin
- Move: sudo mv phpldapadmin /var/www/phpldapadmin
2. Install phpLDAPadmin:
The web client setup is completed, we need to configure it to connect with LDAP directory. Open the main configuration file ../phpLDAPadmin/config/ config.php with root privileges in your favourite editor. You need to add the configuration values as you have set in your LDAP. Look for the following lines in this file and update values as per your configuration values:
You can now save and close the file.
- $servers->setValue('server','name','My LDAP Server'); // The name to display
- $servers->setValue('server','host','127.0.0.1') //Address of the LDAP server
- $servers->setValue('server','port',389) //Port number
- $servers->setValue('server','base',array('dc=example,dc=com')) //Base dn
- $servers->setValue('login','bind_id','cn=admin,dc=example,dc=com'); //The DN of the user for phpLDAPadmin to bind
- $servers->setValue('login''bind_pass','secret'); //password
3. Create Virtual Host File With SSL Config:
Now, create a virtual host file to securely access LDAP directory structure through web client.
- Create self-signed SSL certificate:
We just need to create a self-signed SSL certificate, that our server can use, with following command.
sudo openssl req -x509 -nodes -days 365 -newkey rsa:2048 -keyout /etc/apache2/ssl/ldap-web.key -out /etc/apache2/ssl/ldap-web.crt
Create virtual host file under ../etc/apache2/sites-available/ directory :
- sudo nano ldap-web.conf
<VirtualHost *:80>

	ServerName ldap-web.com
	ServerAlias ldap-web.com
	ServerAdmin [email protected]
	DocumentRoot /var/www/phpldapadmin/

	Redirect / https://ldap-web.com/

	# Set access permission
	<Directory /var/www/phpldapadmin/>
		Require all granted
	</Directory>

	ErrorLog ${APACHE_LOG_DIR}/ldap-web.com.error.log
	CustomLog ${APACHE_LOG_DIR}/ldap-web.com.access.log combined

</VirtualHost>

<VirtualHost *:443>

	ServerName ldap-web.com
	ServerAlias ldap-web.com
	ServerAdmin [email protected]
	DocumentRoot /var/www/phpldapadmin/

	SSLEngine on
	SSLCertificateFile /etc/apache2/ssl/ldap-web.crt
	SSLCertificateKeyFile /etc/apache2/ssl/ldap-web.key

</VirtualHost>
Enable your site and secure connection if it is not enabled. Restart apache web-server. (Enabling secure connection will remove warning message from login prompt)
- sudo a2ensite ldap-web.conf
- sudo a2enmod ssl
- sudo service apache2 restart
Create host entry by executing “sudo nano /etc/hosts” for created host:
- <ip-address> ldap-web.com
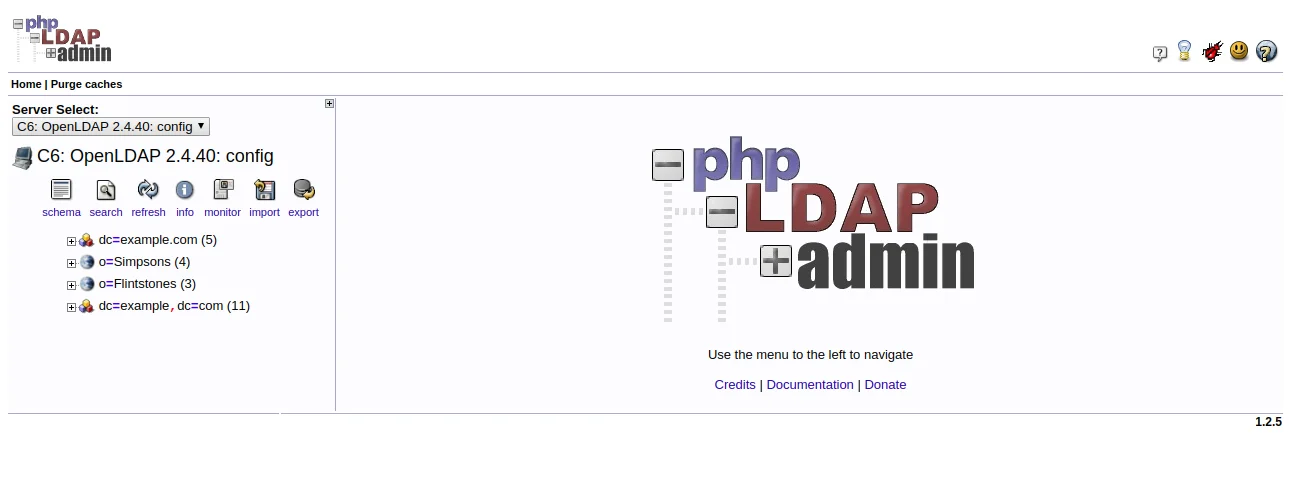
Now, hit ldap-web.com in your web browser. It will open phpLDAPadmin:

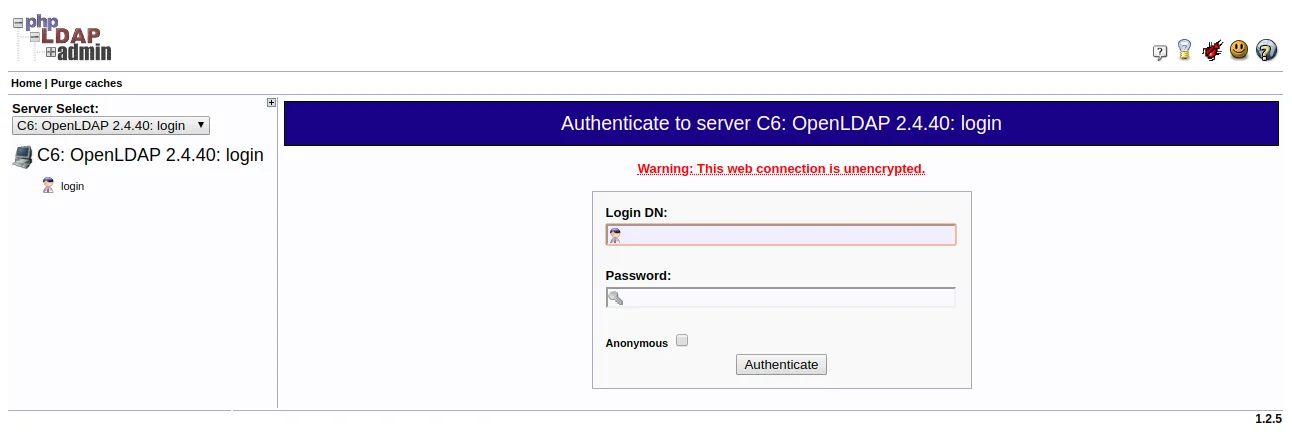
Click on “login” link to login to the phpLDAPadmin. You will receive a login prompt like this.

4.Disable Anonymous Login:
To disable anonymous login for phpLDAPadmin web client, open the main configuration file ../phpLDAPadmin/config/ config.php with root privileges in your favorite editor. Look for the following line:
- $servers->setValue('login','anon_bind',true);
and update values as following:
- $servers->setValue('login','anon_bind',false);
Now, hit ldap-web.com in browser and click on login. It will not display anonymous login option.

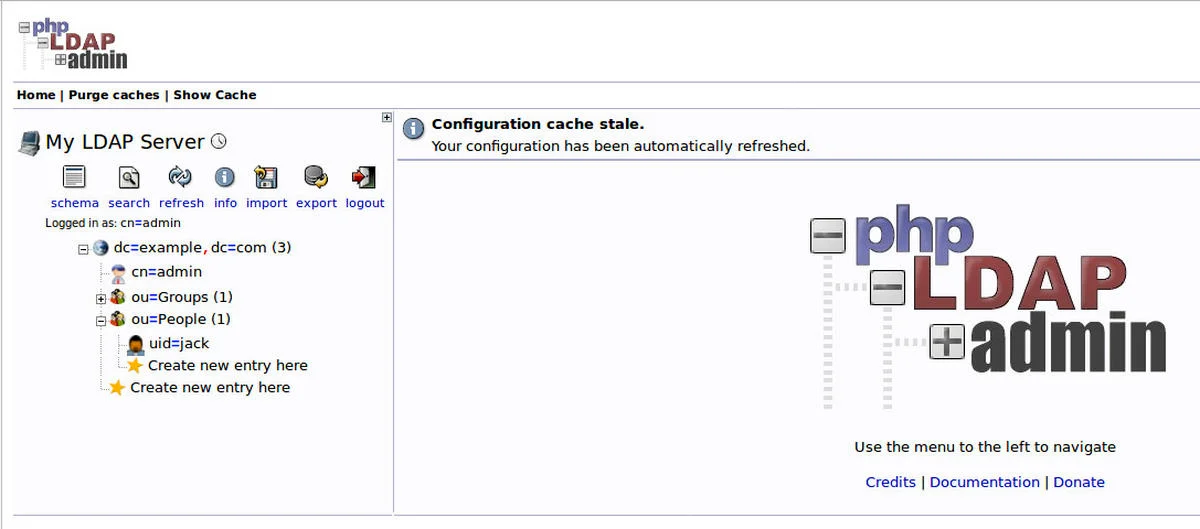
Provide your credential as you have configured and click on Authenticate button. It will login to the phpLDAPadmin web client.


