How to Install Odoo 18 in Windows
Trying to install Odoo on your windows system? You came to the right place. In this article we’ll walk you through each step of installing Odoo 18 from the source code.
This guide is for you. If you're a developer or just someone curious about what Odoo can do, this setup will help you get started without the hassle.
Also, if you ever need some help with more advanced setups or custom features, we have a team of certified Odoo developers who know the ins and outs. We can help you build the right solution for your business, no matter how complex things get.
Quicksteps to install Odoo 18 in Windows
- Download the Odoo source code.
- Install Python (version 3.10 or newer).
- Install PostgreSQL (version 16.0 or newer).
- Create a new PostgreSQL username & password.
- Install the dependencies.
- Download and install wkhtmltopdf.
- Configure Odoo & start using it.
Prerequisites for Installing Odoo on Windows
System Requirements
Before installing Odoo on your Windows system, ensure that your computer meets the following minimum requirements:
Windows 10 or newer
Minimum 4 GB RAM
Minimum 2.0 GHz dual-core processor
Minimum 20 GB of free disk space
Stable internet connection
Downloading the Required Software
After making sure that your system meets the above requirements, you will need to download the following software:
- Odoo installer for Windows
- PostgreSQL database
You can download both these software packages for free from their respective websites or find the links in the content below.
How to Install Odoo 18 on Windows?
There are two ways to setup Odoo in the Windows system:
- Installation Using Packaged Installer.
- Installation with Odoo Source Code.
We will concentrate on the installation procedure using the Odoo 18 source code in this article.
- Odoo installation using a packaged installer
Odoo provides Packaged Installer which automatically installs all the dependencies. It is recommended if you do not need code-level customization. You can simply download Odoo Packaged Installer and proceed with the installation.
- Installing Odoo in Windows using Odoo source code
If you are a developer, it is recommended to set up Odoo using source code as it offers flexibility if you wish to customize from code. For installation, Git is a prerequisite. If Git is not installed, you can download Git now.
How do I install Odoo 18 on Windows?
To install Odoo, we need the Odoo Source Code. We can clone Odoo’s official repository from GitHub.
Download Odoo Source Code
- Open the command prompt.
- Go to the directory where you want to take a clone of Odoo’s source code.
- Take a clone using the command (HTTPS).
- git clone https://github.com/odoo/odoo --single-branch -b 18.0
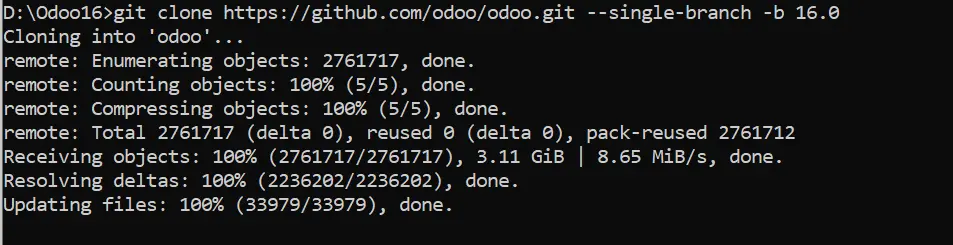
(Fig. 1: Clone Odoo Source Code from the command prompt)
Install Python (3.10 or a newer version)
By default, Windows doesn’t include pre-installed Python. So, we must install preferably the latest version of Python.
Download the Python installer from www.python.org/downloads/.

(Fig. 2: On the official website to download Python)
- Double-click and run the downloaded file.
- In the installation wizard, check the checkbox Add python.exe to PATH and then Install Now.
- If you have checked the checkbox Add python.exe to PATH, it will automatically set the path, and it will show the notification of successful installation.
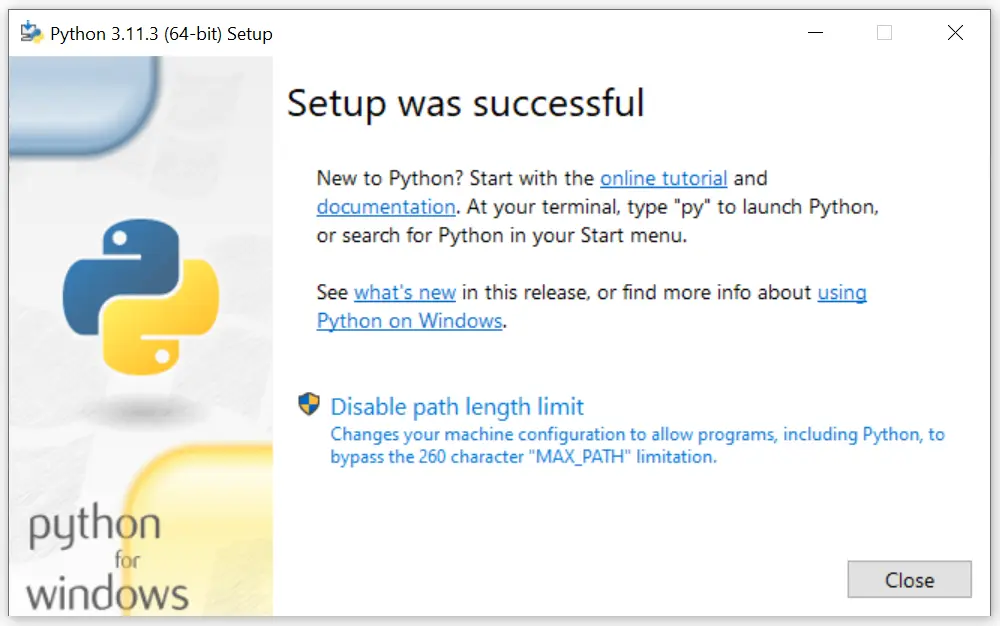
(Fig. 3: Python Installer)
- After successful installation, confirm the version of the recently installed Python, just to make sure that Python is executable from the command prompt.

(Fig. 4: Check Python Version in Command Prompt)
Install PostgreSQL (16 or newer version)
Visit the PostgreSQL download website and click on Download the Installer.

(Fig. 5: PostgreSQL Website)
- You will be redirected to the EDB website.
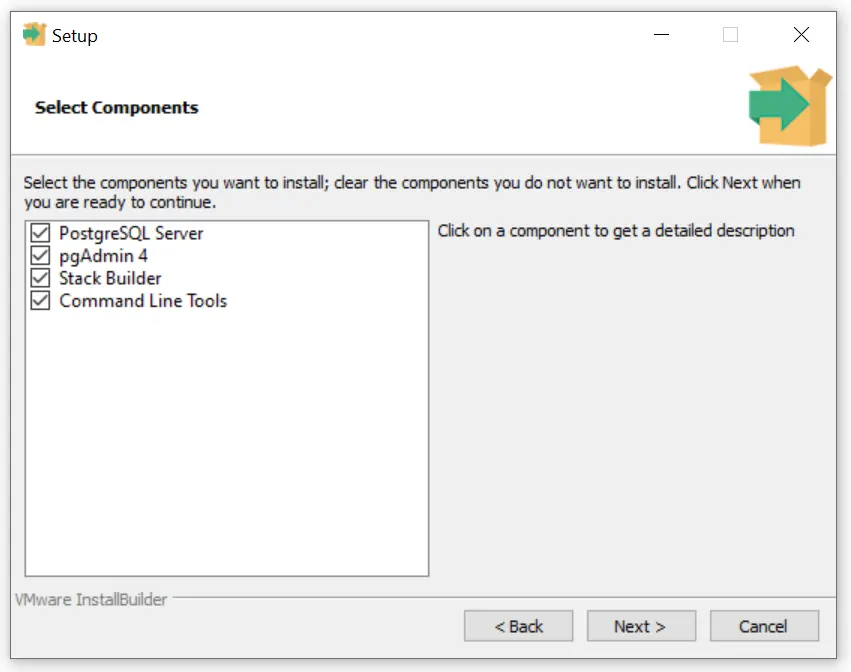
- Click on the download button beside the PostgreSQL version greater than or equal to 16. Follow the simple prompts as shown below in the pictures.

(Fig. 6: PostgreSQL Website)

(Fig. 7: PostgreSQL Installer)

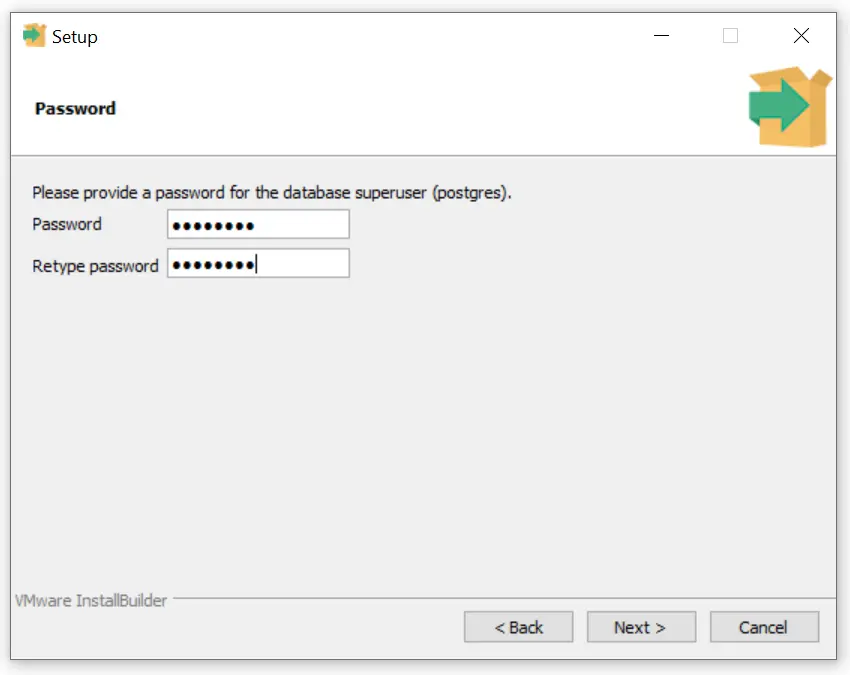
(Fig. 8: PostgreSQL Installer)
(Fig. 9: PostgreSQL Installer)
 (Fig. 10: PostgreSQL Installer)
(Fig. 11: PostgreSQL Installer)
(Fig. 12: PostgreSQL Installer)
- Run the downloaded file. A popup will appear, click on "Yes”.
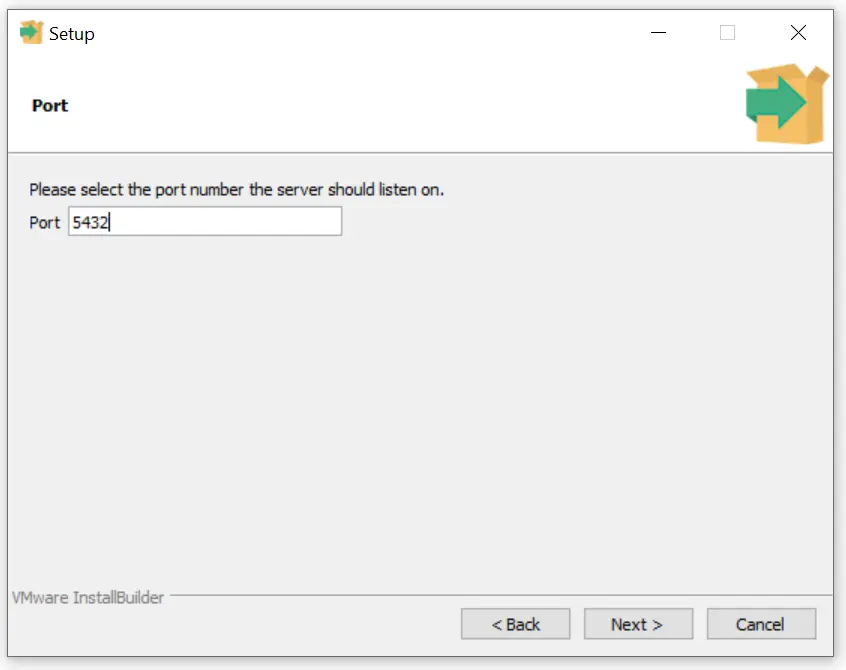
- It is advised to keep the recommended options in the installation wizard.
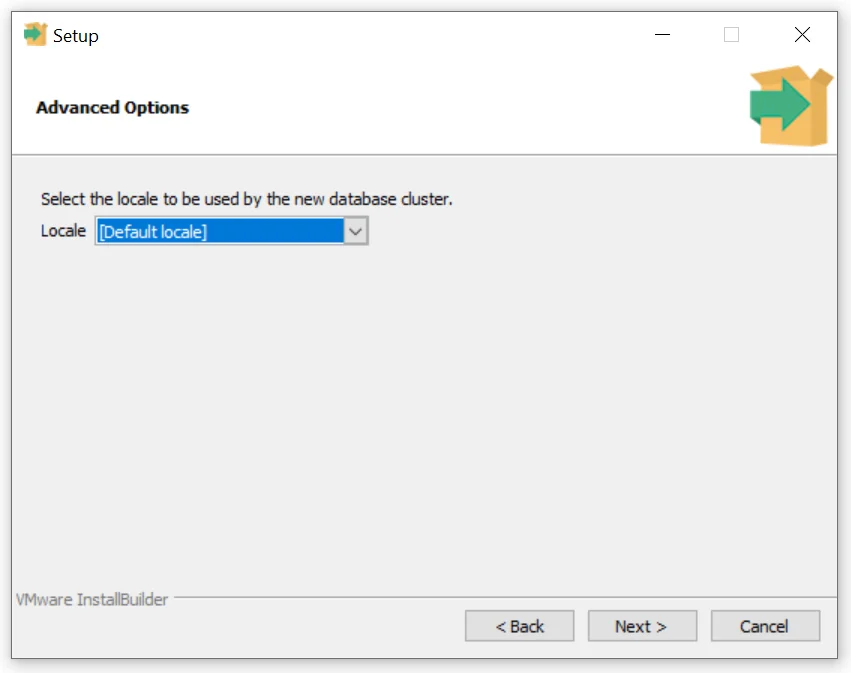
(Fig. 13: PostgreSQL Installer)

(Fig. 14: PostgreSQL Installer)
- After clicking Next, a progress bar will appear, and it will install PostgreSQL.
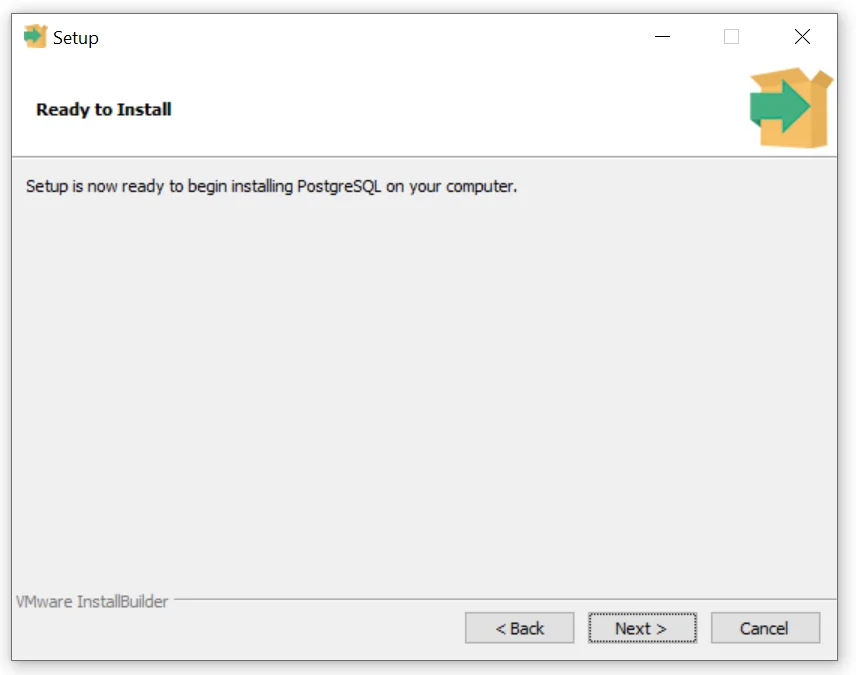
(Fig. 15: PostgreSQL Installer)
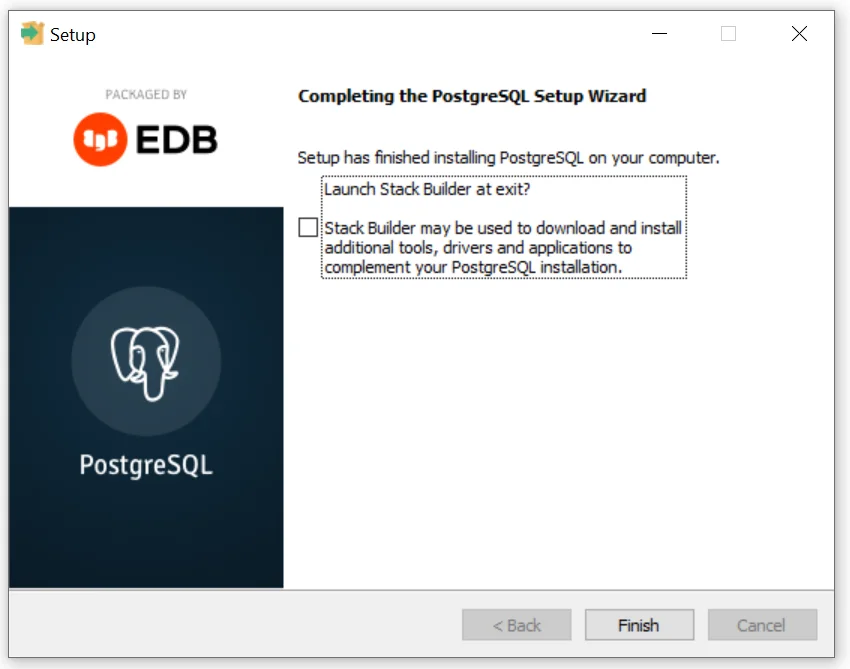
(Fig. 16: PostgreSQL Installer)
- Add PostgreSQL path in environment variables (C:\Program Files\PostgreSQL;<version;>\bin).
Create a new PostgreSQL user
Although there is already one PostgreSQL user, Odoo does not allow a user to connect due to security reasons. We will need to create a new user. For example, “Odoo”, which we will use in the future to start the Odoo server. - Go to pgAdmin.
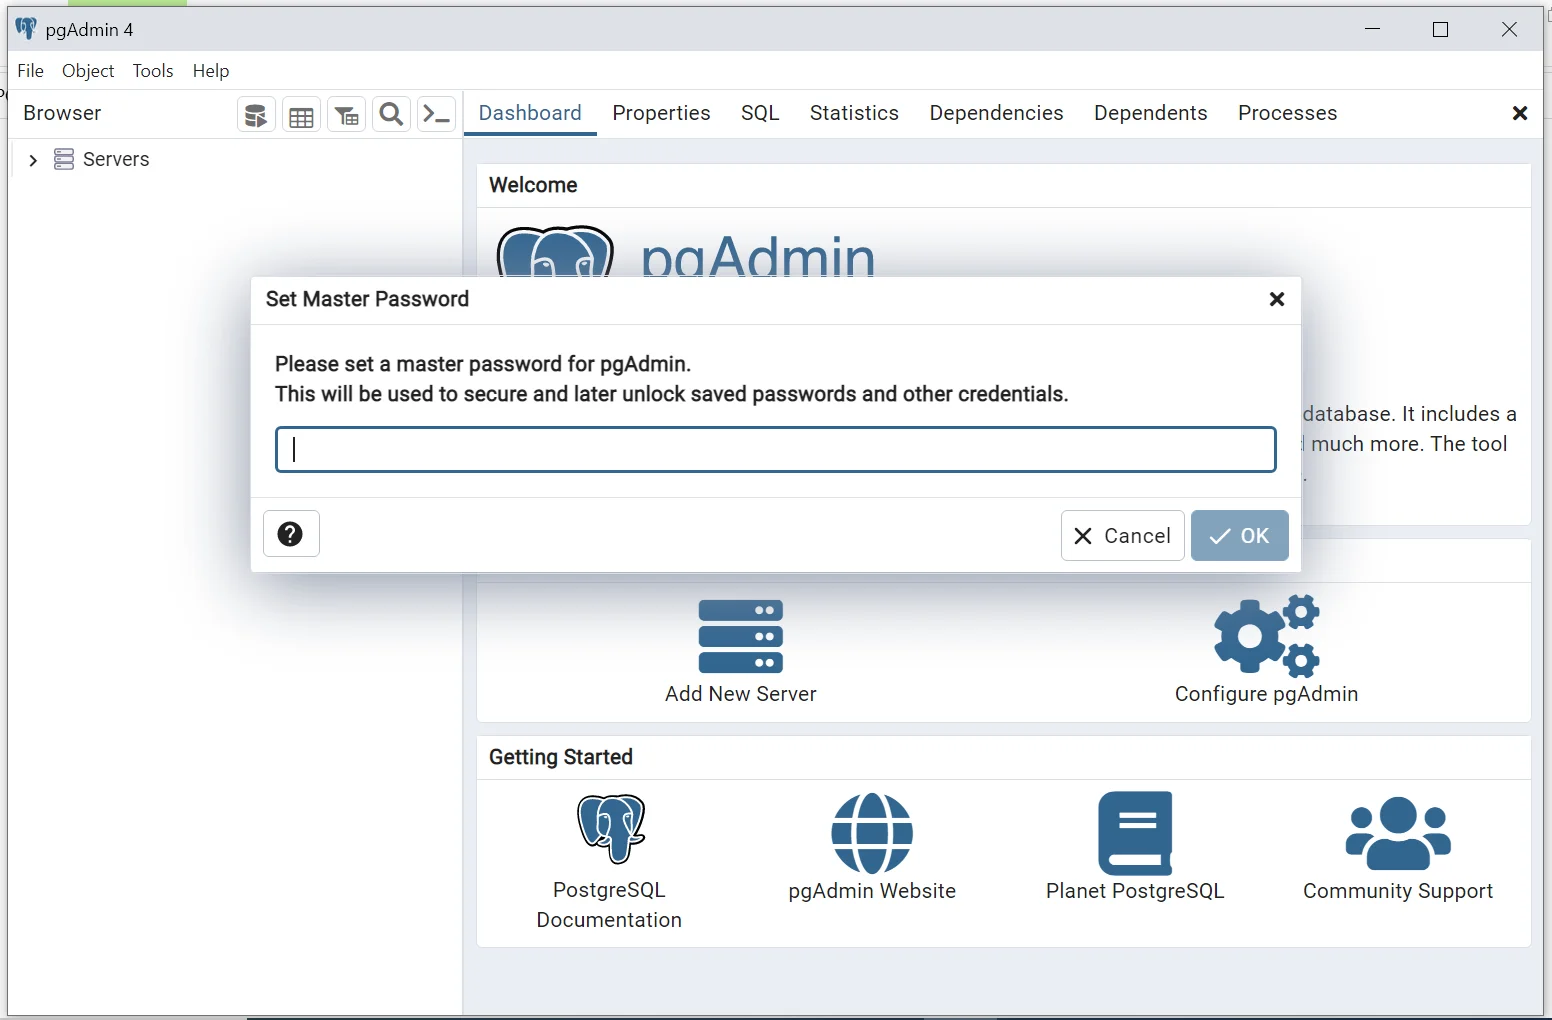
(Fig. 17: pgAdmin – Set Master Password)
- When prompted, enter the PostgreSQL password (the password that we have set during installation).
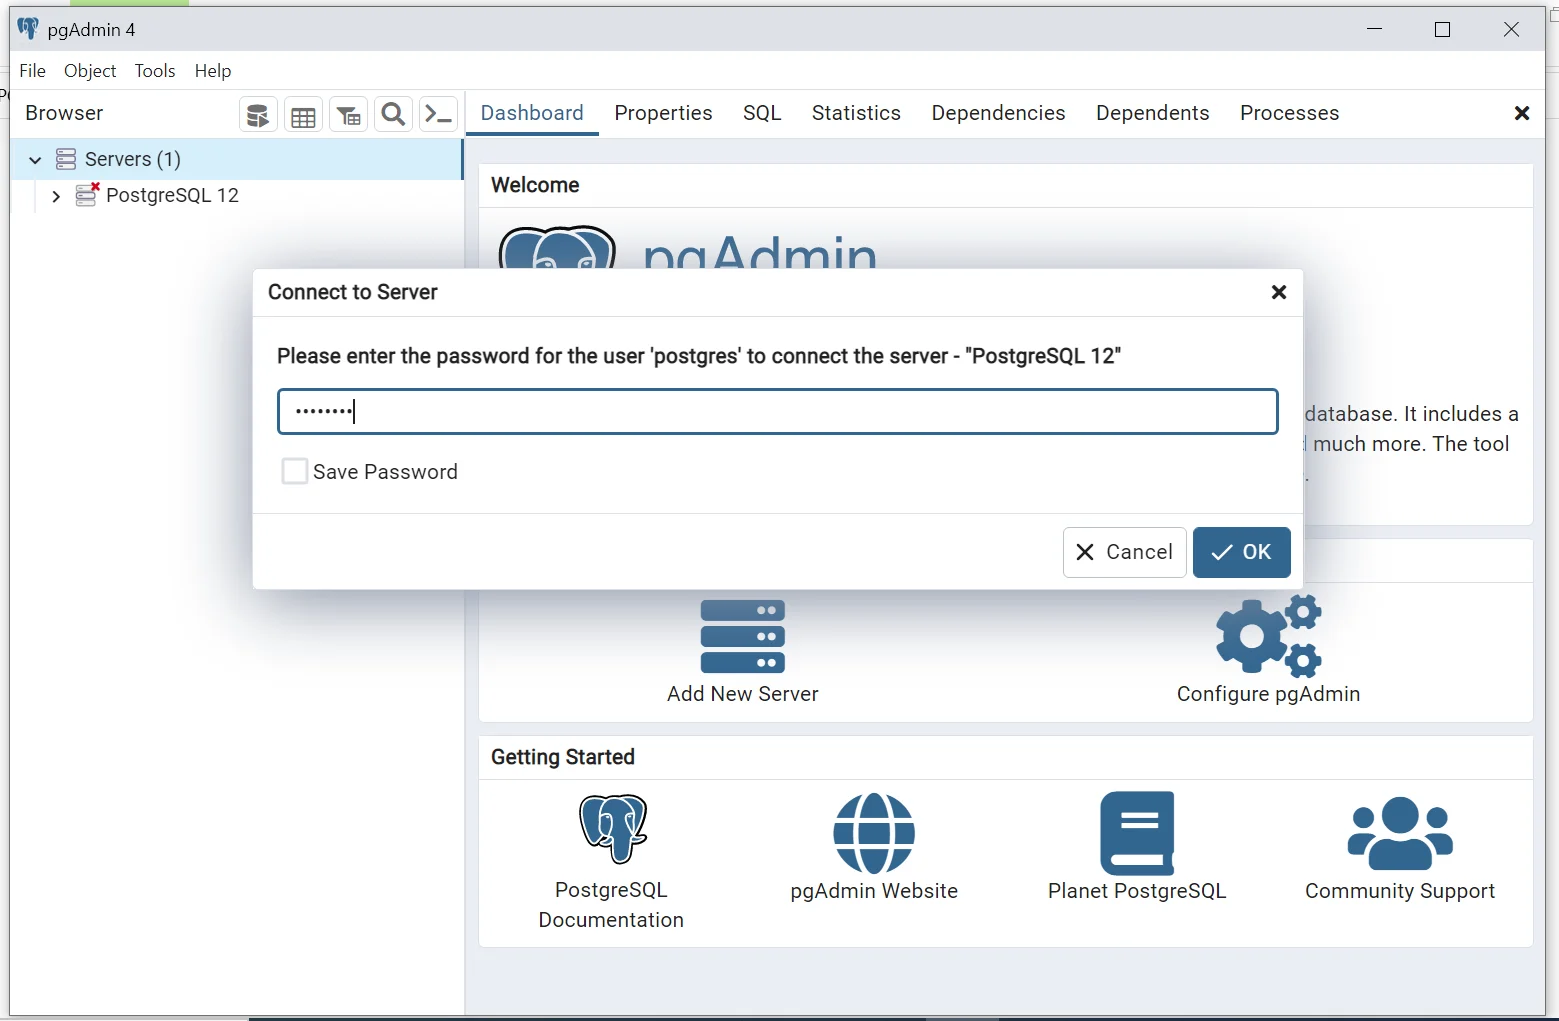
(Fig. 18: pgAdmin – Connect to the server using Postgres User Password)
- Double-click the PostgreSQL server to establish a connection.
- Go to toolbar > Object > Create > Login/Group Roles.
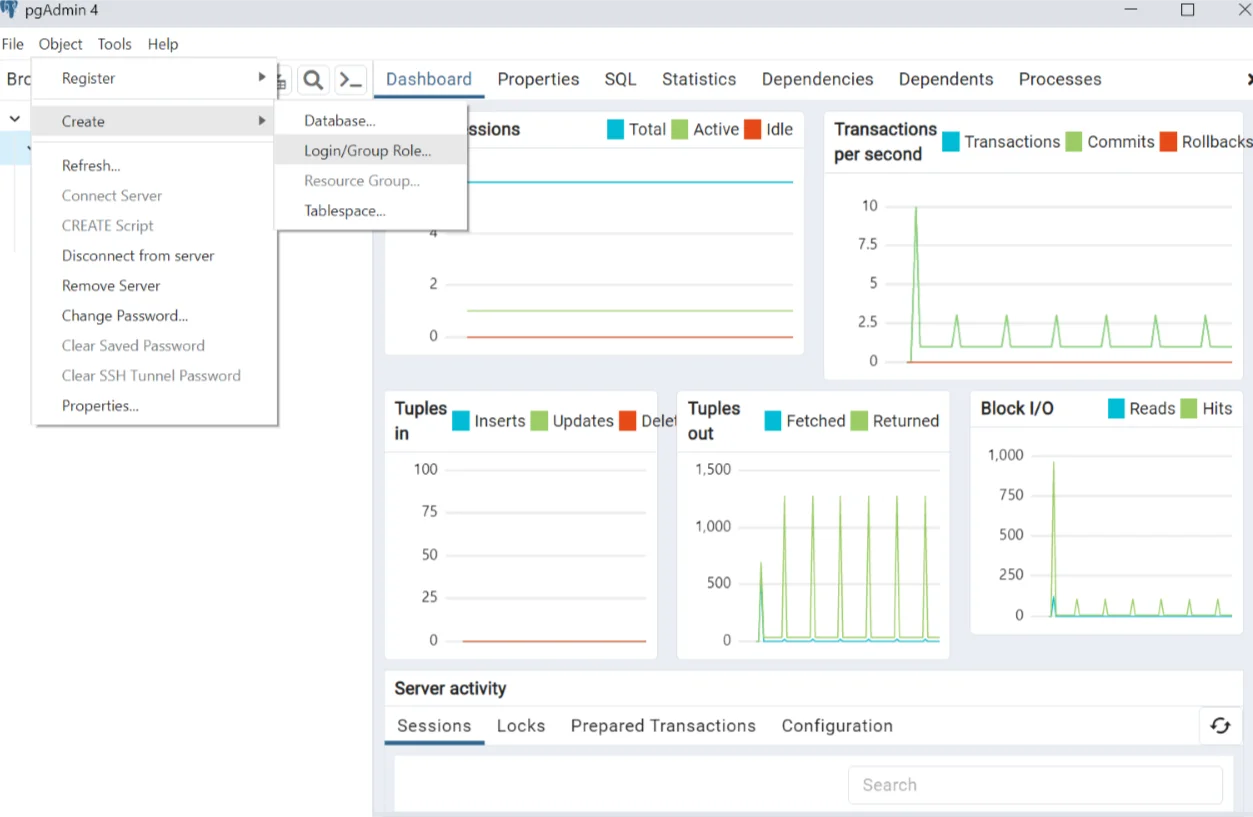
(Fig. 19: pgAdmin – Create Role)
- Provide the appropriate username (use Odoo) in the field “Role Name”.
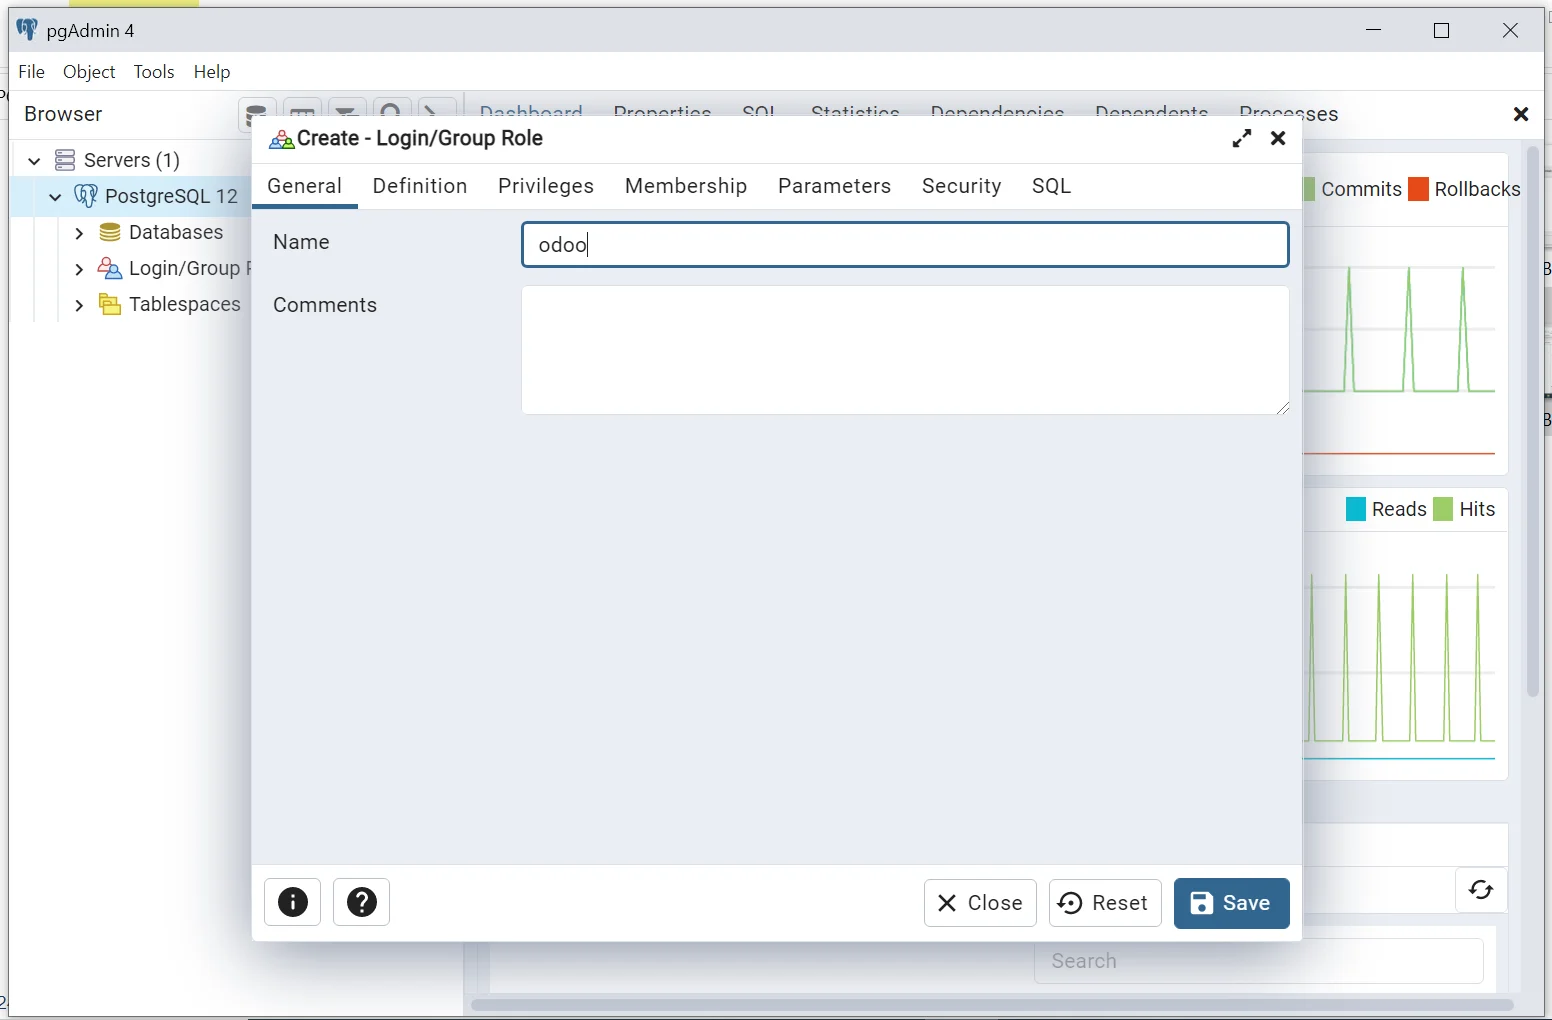
(Fig. 20: pgAdmin – Create Role – Set Name)
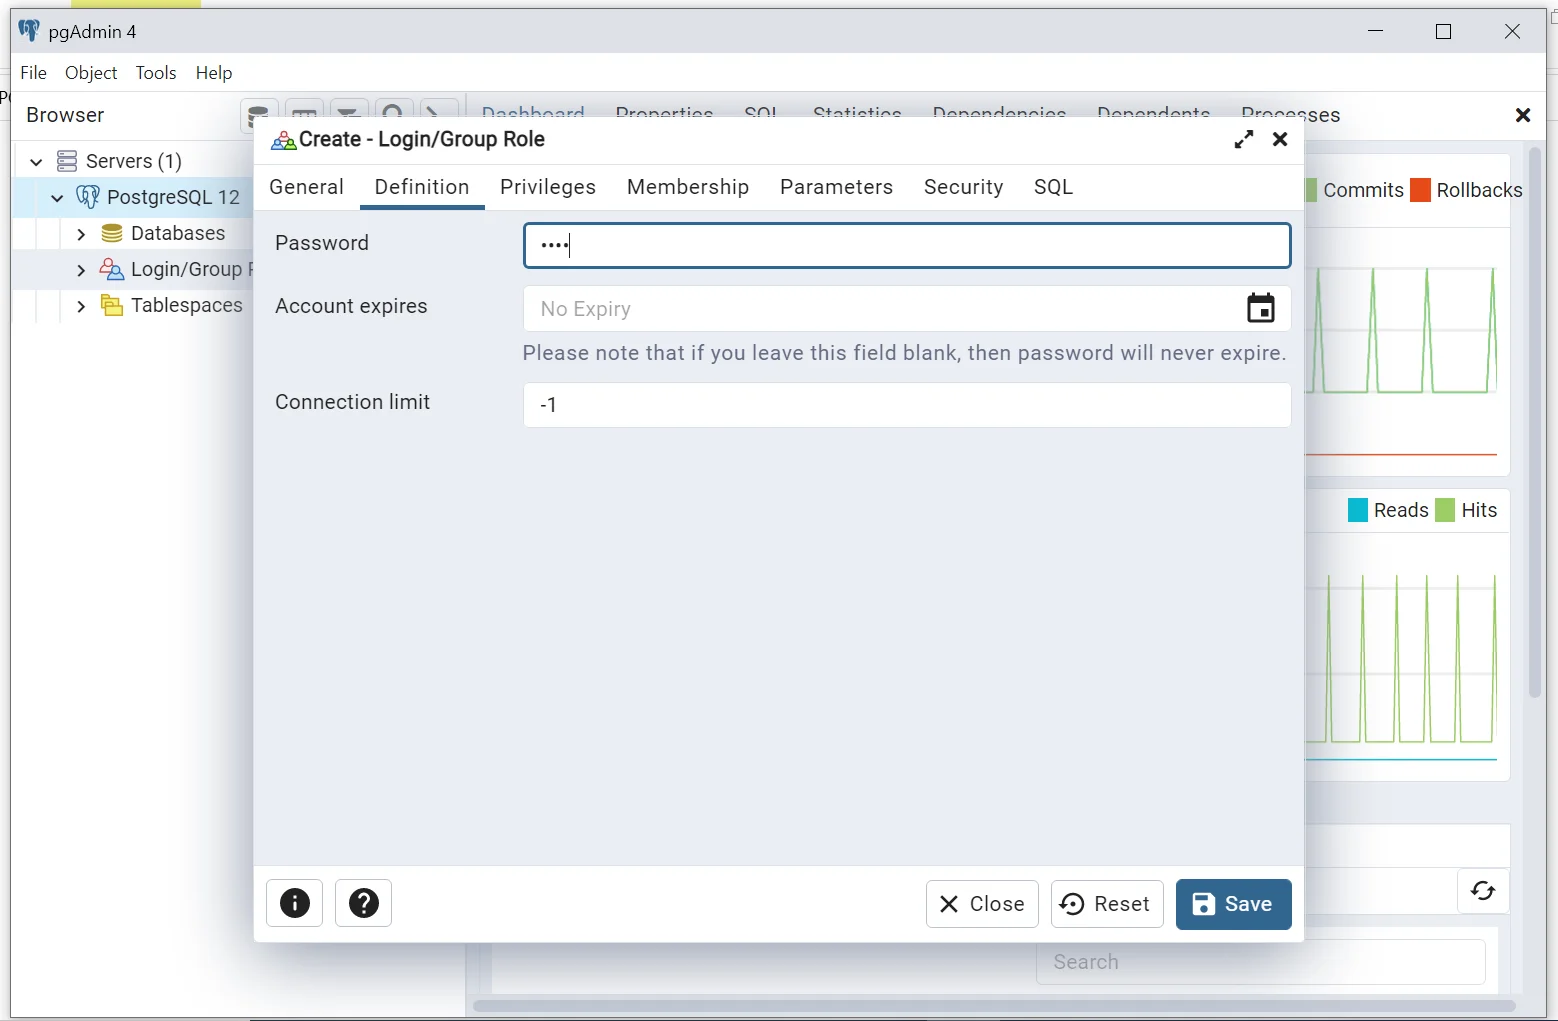
(Fig. 21: pgAdmin – Create Role – Set Password)
- Inside the Definition tab, type in a new password.
- Then go to the Privileges tab, toggle the Can log in and Create Database to set them to true, and then Click the Save button.
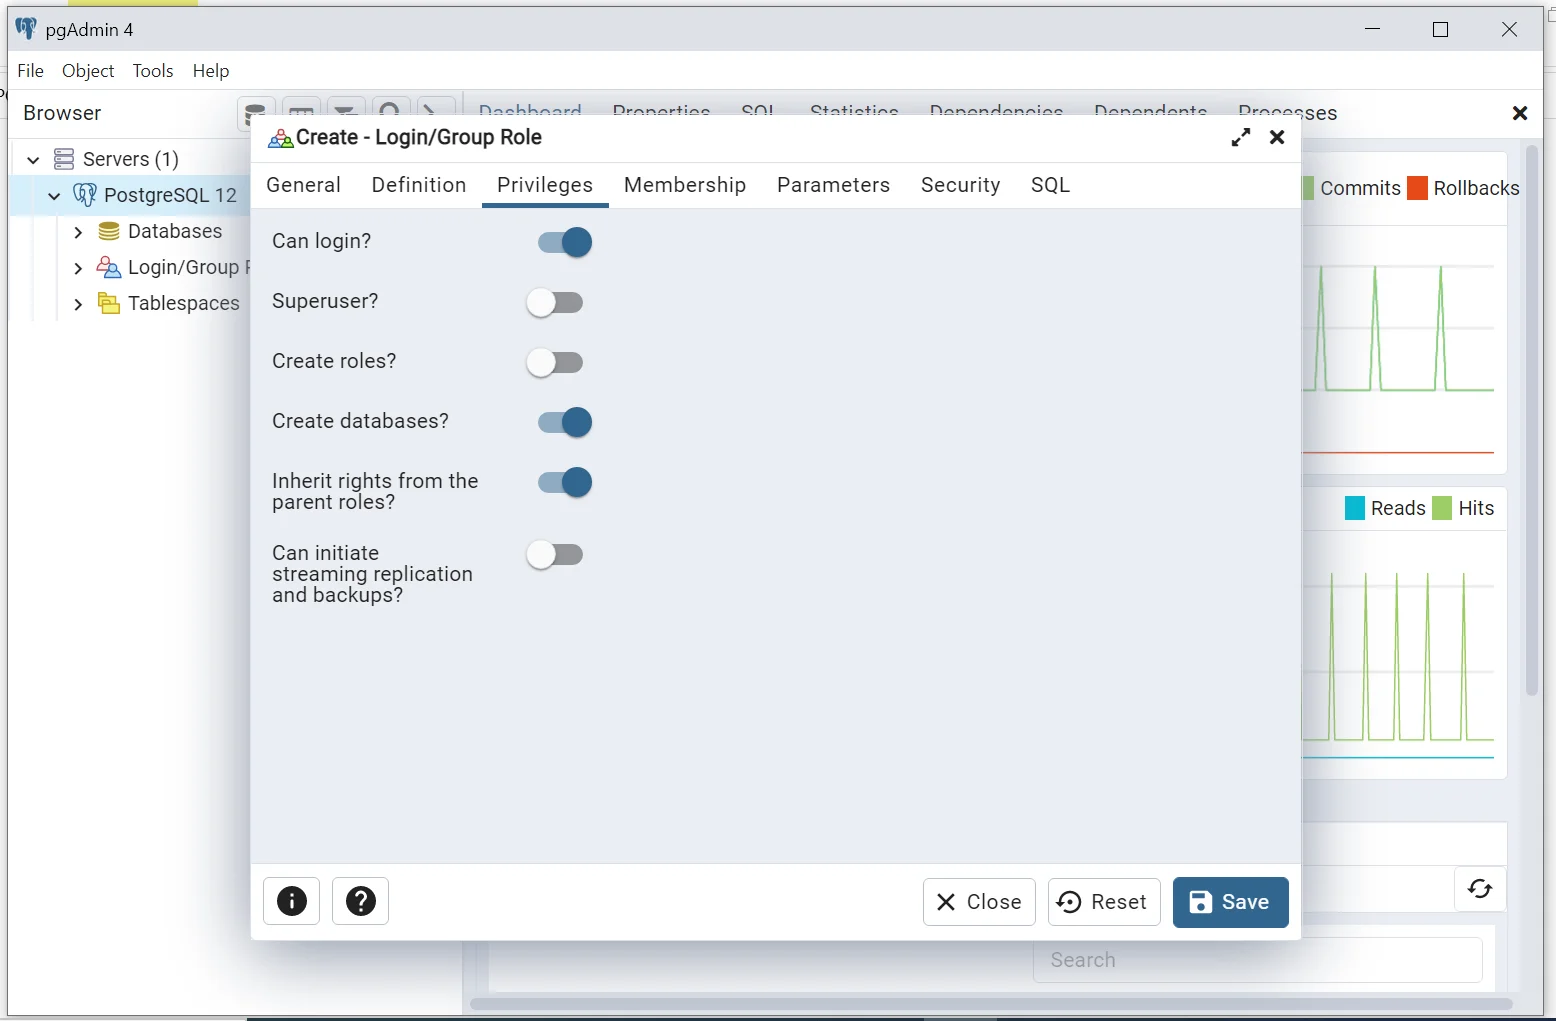
(Fig. 22: pgAdmin – Create Role – Set Privileges)
Install Dependent Libraries
In the command prompt, go to the recently cloned Odoo repo where the requirements.txt file is located and run the commands:
- pip install setuptools wheel
- pip install -r requirements.txt

(Fig. 23: Command Prompt – Install setuptools and wheel)

(Fig. 24: Command Prompt – Install all libraries from requirements.txt)
Download and install wkhtmltopdf
Steps to download and install wkhtmltopdf:
- Go to https://wkhtmltopdf.org/downloads.html and download the executable file.
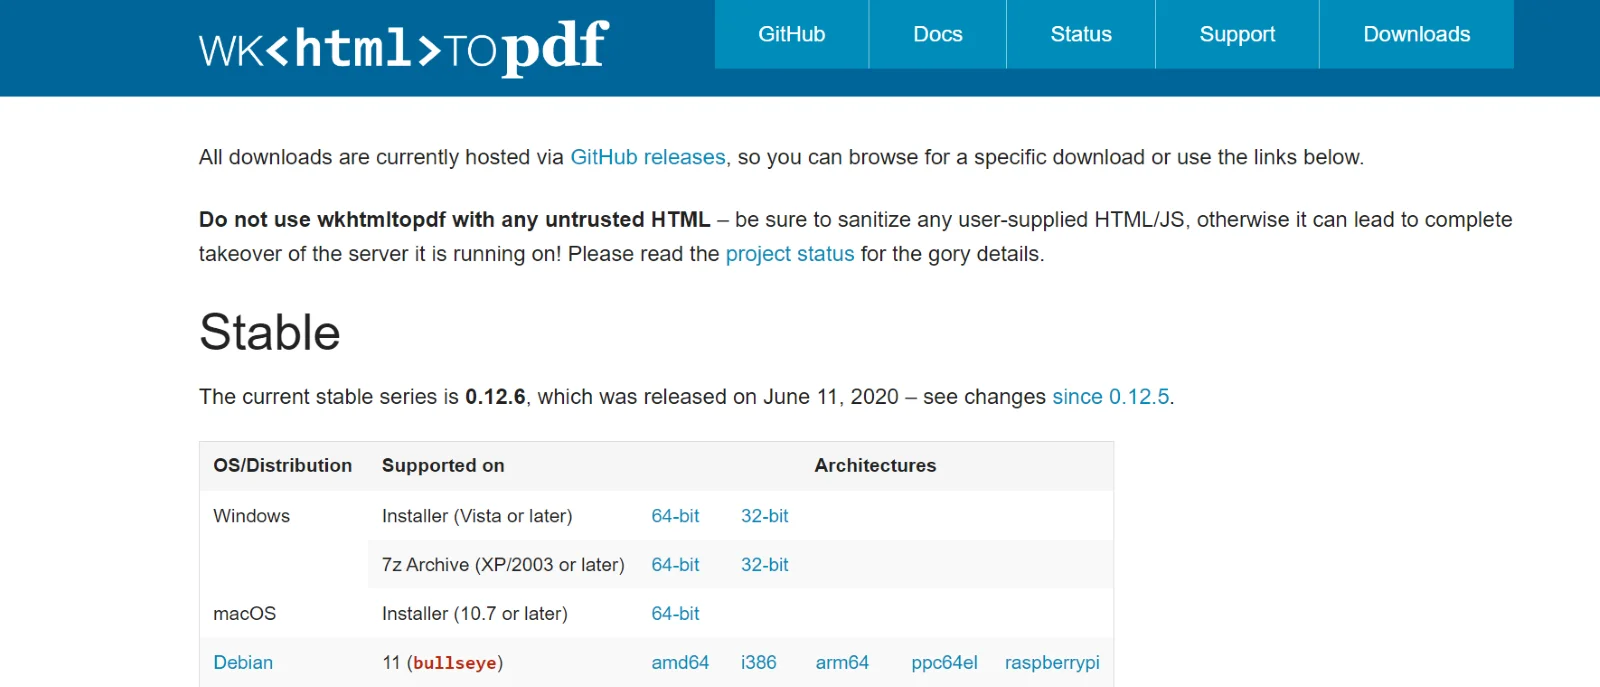
(Fig. 25: wkhtmltopdf website – Download Installer)
- Double-click to run the executable file and the pop-up will appear for permission, click “Yes”.
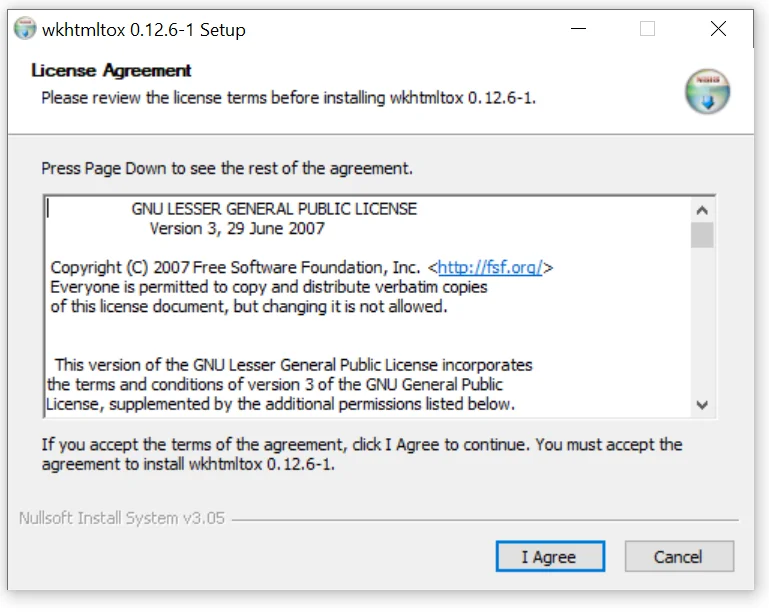
(Fig. 26: wkhtmltopdf Installer)
- Then the installation wizard will open, here we have to click “Next” until the installation process is completed, and finally, click “Close”.
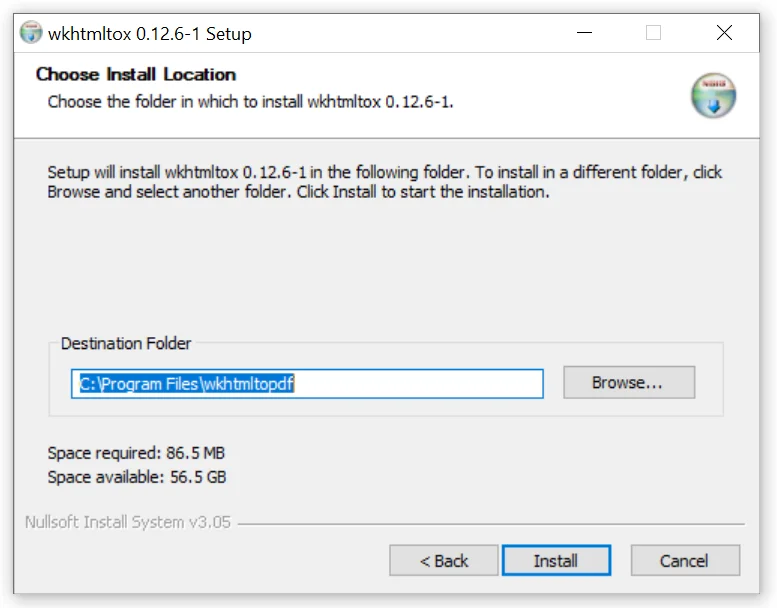
(Fig. 27: wkhtmltopdf Installer)
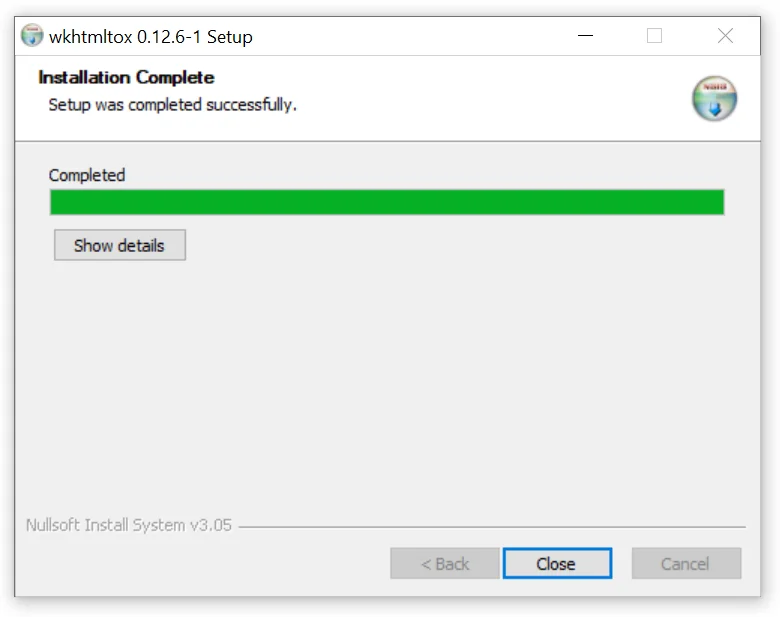
(Fig. 28: wkhtmltopdf Installer)
Configure Odoo & Start the Server
- Open the command prompt, visit the Odoo directory, and locate the Odoo-bin file.
- Run the command:
- python odoo-bin -r db_user -w db_password --addons-path=addons -d demo_db

(Fig. 29: Command Prompt – Start Odoo Server)
- Here db_user is the newly created database user (choose it Odoo) and db_password will be its password (Odoo).
- Go to the browser and in the address bar, type localhost:8069 and hit enter.
- In the login screen, enter your email (admin) and password (admin) and Hit “Login”.

(Fig. 30: Start Odoo)
Why Am I Unable to Install Odoo?
If you are having trouble installing Odoo on Windows, there could be several reasons. Let us discuss them with solutions:
Python Version Problems: Verify that the Python version you have installed is compatible with Odoo 18.
Package Conflicts: Verify that the installed Python packages and the dependencies needed for Odoo 18 do not clash.
Firewall or Antivirus Interference: Set up your antivirus or firewall program so that Odoo can connect to the designated port.
Hopefully you can get over any challenges that come up throughout the installation procedure by taking care of these problems.
Findings and Suggestions for installing Odoo 18 on Windows
Installing Odoo on Windows isn’t always straightforward; a few things can cause hiccups. Here are some tips that might help:
Test everything once you’re done
Don’t just assume it works after installation. Spend some time clicking around, trying features, and making sure nothing is broken. Catching problems early saves you headaches later.
If you keep these in mind, your installation should go a lot smoother — and you’ll avoid a bunch of unnecessary frustration.
Odoo 19 is on the way! Check out our preview of Odoo 19 Features and Updates to get an early look at what’s expected in the next version
Conclusion
Hopefully, this guide was helpful for you to install Odoo in Windows. We are a certified Odoo development company and can deliver you customized solutions related to Odoo. If you still need any further assistance in concern with Odoo, please feel free to connect at [email protected].