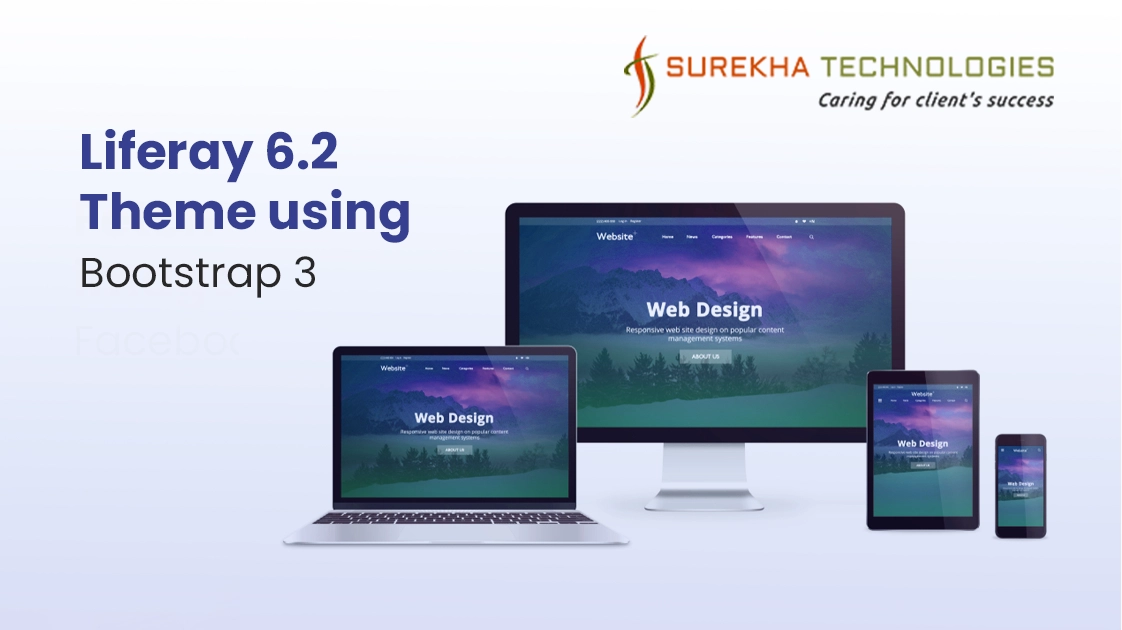
Liferay 6.2 Theme using Bootstrap 3 - Surekha Technologies
Liferay 6.2 Theme using Bootstrap 3

There are lots of people thinking about feasibility of using Bootstrap 3 in Liferay 6.2. Bootstrap 2 is upgraded by bootstrap 3 and also new features have been introduced according Twitter Bootstrap development community. Let's fulfill the wish of many Liferay theme developers to work with Bootstrap 3 in Liferay 6.2.
Bootstrap 3 provides flat design with no more fluid and fixed classes. Everything in bootstrap 3 is fluid to create fluid design. Besides, Bootstrap 3 is available with four level of responsiveness. We also can order columns using pull and push classes.
Here, I have tried to support most used bootstrap 3 component like flat design button, forms, media object, responsive image classes, completely responsive grid system.
Consider following requirements to develop theme.
System Requirements : -
- Liferay 6.2 CE/EE version
- Liferay plugin SDK
Follow the below steps to build sample theme.
Make the following selections:
- Open IDE(Eclipse/Liferay Developer Studio) and go to File -> New -> Liferay Plugin Project.
- Build type: Ant (liferay-plugins-sdk) / Maven (liferay-maven-plugin)
- Plugins SDK: [a configured Plugins SDK]
- Liferay runtime: [a configured Liferay runtime]
- Plugin Type: Theme
- JDK: [a configured Java runtime 7 and above]
- Click Next
- Choose parent theme ( _styled / _unstyled / classic) according to requirement. For now select classic as a parent theme.
- Choose Theme Framework ( Freemarker / Velocity / jsp).
- Click on Finish.
After step 1, Theme will resemble to below structure.
Note :- Make sure _diffs directory is not created during step 1. Create it manually and copy resource folders (css,images,js,templates) according to requirement.
Theme Design:
- Liferay-theme
- docroot
- WEB-INF
- Liferay-look-and-feel.xml
- liferay-plugin-package.properties
- _diffs
- css
- images
- js
- templates
- css
- images
- js
- templates
- WEB-INF
- docroot
- The _diffs directory must mirror the parent theme’s directory structure.
2. Follow below steps for theme customization.
- Copy custom.css from css directory to _diffs --> css directory as per the requirements.
- Add bootstrap_3.css and theme_6_2_bootstrap_3.css to _diffs --> css directory.
- Import bootstrap_3.css and theme_6_2_bootstrap_3.css at the end of _diffs --> css --> custom.css file.
Note : - Take bootstrap_3.css from attached war file, Because It's classes hierarchy is changed to meet liferay theme rules.
Custom.css
-----
--------
----------
@import url(bootstrap_3.css);
@import url(theme_6_2_bootstrap_3.css);
Theme_6_2_bootstrap_3.css
.aui {
    body {
        background:url(../images/cover1.jpg) no-repeat 0 0 /cover;
    }
    .site-title .site-name {
            color:#fff;
    }

    #wrapper {
        background-color: rgba(0,0,0,0.5);
        #content {
            min-height:500px;
        }
    }

    #footer {
        background-color: #ffffff;
        p {
            padding:5px;
        }
    }
}
3. Follow the steps to make default layout for theme ( Optional).
- Create layout plugin by following step 1 and select plugin type as layout.
- Create layouttpl directory under _diffs directory in theme plugin.
- Copy layout files ( B3_layout.png, B3_layout.tpl and B3_layout.wap.tpl) from layout plugin and paste under layouttpl directory in theme plugin.
- Add layout configuration inside theme configuration in WEB-INF --> Liferay-look-and-feel.xml.
Liferay-look-and-feel.xml
<?xml version="1.0"?>
<!DOCTYPE look-and-feel PUBLIC "-//Liferay//DTD Look and Feel 6.2.0//EN" "http://www.liferay.com/dtd/liferay-look-and-feel_6_2_0.dtd">

<look-and-feel>
    <compatibility>
        <version>6.2.10+</version>
    </compatibility>
    <theme id="L6_2withBT3-theme" name="L6_2withBT3">
           <layout-templates>
            <custom>
                <layout-template id="B3_layout" name="B3 Layout">
                    <template-path>layouttpl/B3_layout.tpl</template-path>
                    <wap-template-path>layouttpl/B3_layout.wap.tpl</wap-template-path>
                    <thumbnail-path>layouttpl/B3_layout.png</thumbnail-path>
                </layout-template>
            </custom>
        </layout-templates>
    </theme>
</look-and-feel>
4. Deploy theme using command ant clean deploy.
5. Deploy layout if created separately.
Responsive Layout (optional):
For example, To use bootstrap 3 layout with new grid class ( col-* ). Follow below link
https://www.surekhatech.com/blog/liferay-dxp-theme-with-bootstrap-3
After successful deployment, theme will look as shown in following snapshots.
Mobile View
Tablet View
Desktop View
Large Desktop View
Download illustrative war from below link :-
For Your Business Requirements
