Desclaimer: This example is developed using Liferay 7.0 beta version(liferay-portal-tomcat-7.0-ce-b7). This example might not work with other than beta versions.
In last few years, there is a sharp increase in usage of gadgets like mobile, large desktop TV’s and many more. Users also like to visit their sites on every gadgets with proper arrangement of site elements and look and feel..
People are using liferay 6.2 with bootstrap 2 to get responsive functionality. As we are looking forward to make more responsive sites, Liferay 7 provides it with bootstrap 3 which is more efficient, coherent and more responsive than bootstrap 2.
Bootstrap 3 supports mobile first approach as mobile devices are most used gadget in today’s world. Liferay 7 provides rapid theme development using bootstrap 3.
“Less Code , More Responsiveness”
For theme development startup, Following requirements are needed.
Startup Requirements :-
- Liferay 7 beta version
- Liferay plugin SDK
Theme Development:-
Here I will demonstrate by creating sample theme.
Follow the below steps to create a theme.
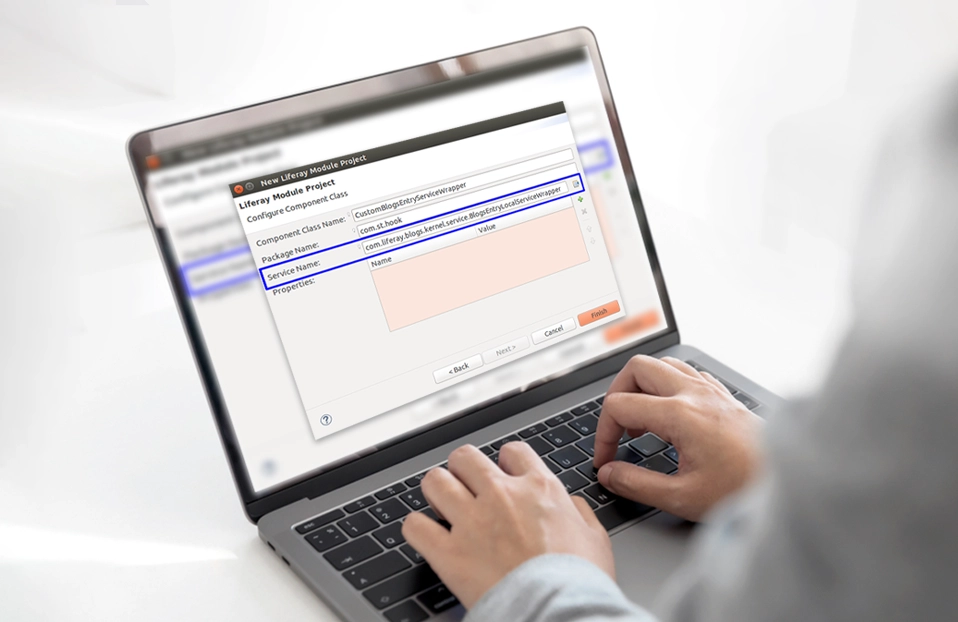
- Open IDE(Eclipse/Liferay Developer Studio). Go to File -> New -> Liferay Plugin Project.
Make the following selections:
- Build type: Ant (liferay-plugins-sdk) / Maven (liferay-maven-plugin)
- Plugins SDK: [a configured Plugins SDK]
- Liferay runtime: [a configured Liferay runtime]
- Plugin Type: Theme
- JDK: [a configured Java runtime 7 and above]
- Click Next
- Choose parent theme (_styled / _unstyled / classic). For now select classic as a parent theme.
- Choose Theme Framework (Freemarker / Velocity / jsp).
- Click on Finish.
Theme directory structure:
- Liferay-7-theme/
- docroot
- WEB-INF
- _diffs/ - subfolders not created by default.
- css
- images
- js
- templates
- The _diffs folder must mirror the parent theme’s directory structure.
- Add your custom css/scss under _diffs --> css directory for as per the requirements.
- Copy main.scss from Liferay-7-theme --> css directory and paste in Liferay-7-theme --> _diffs --> css.
- Now Import custom css/scss in main.scss as follows.
1. main.scss
				@import "imports";
				@import "base";
				@import "portal";
				@import "taglib";
				@import "application";
				@import "layout";
				@import "control_menu";
				@import "navigation";
				@import "portlet";
				@import "extras";
				@import "custom";

				 /* *** custom scss *** */
				@import "theme";
2. Add following scss in your custom css (theme.scss).
				body  {
				background: url('../images/blue-background.jpg') no-repeat center center scroll;
				-webkit-background-size: cover;
				-moz-background-size: cover;
				-o-background-size: cover;
				background-size: cover;
				}
				p  {
					text-align:justify;
				}
Note : Change value according to your requirements.
3. Deploy theme using command ant clean deploy.
Responsive layout (optional):
- Example : 1-4-3 columns responsive layout.
				<div class="columns-1-4-3" id="main-content" role="main">
					<div class="row">
						<div class="col-xs-12 portlet-column portlet-column-only" id="column-1">
							$processor.processColumn("column-1", "portlet-column-content portlet-column-content-only")
						</div>
					</div>

					<div class="row">
						<div class="col-lg-4 col-md-3 col-sm-6 col-xs-12 portlet-column portlet-column-first" id="column-2">
							$processor.processColumn("column-2", "portlet-column-content portlet-column-content-first")
						</div>
						<div class="col-lg-3 col-md-3 col-sm-6 col-xs-12 portlet-column portlet-column-last" id="column-3">
							$processor.processColumn("column-3", "portlet-column-content portlet-column-content-only")
						</div>
						<div class="col-lg-3 col-md-3 col-sm-6 col-xs-12 portlet-column portlet-column-last" id="column-4">
							$processor.processColumn("column-4", "portlet-column-content portlet-column-content-only")
						</div>
						<div class="col-lg-2 col-md-3 col-sm-6 col-xs-12 portlet-column portlet-column-only" id="column-5">
							$processor.processColumn("column-5", "portlet-column-content portlet-column-content-last")
						</div>
					</div>

					<div class="row">
						<div class="col-lg-6 col-md-3 col-sm-5 col-xs-12 portlet-column portlet-column-only" id="column-6">
							$processor.processColumn("column-6", "portlet-column-content portlet-column-content-first")
						</div>
						<div class="col-lg-6 col-md-9 col-sm-7 col-xs-12 portlet-column portlet-column-only">
							<div class="row">
								<div class="col-sm-5 col-xs-12 portlet-column portlet-column-only" id="column-7">
									$processor.processColumn("column-7", "portlet-column-content portlet-column-content-only")
								</div>
								<div class="col-sm-7 col-xs-12 portlet-column portlet-column-only" id="column-8">
									$processor.processColumn("column-8", "portlet-column-content portlet-column-content-only")
								</div>
							</div>
						</div>
					</div>
				</div>
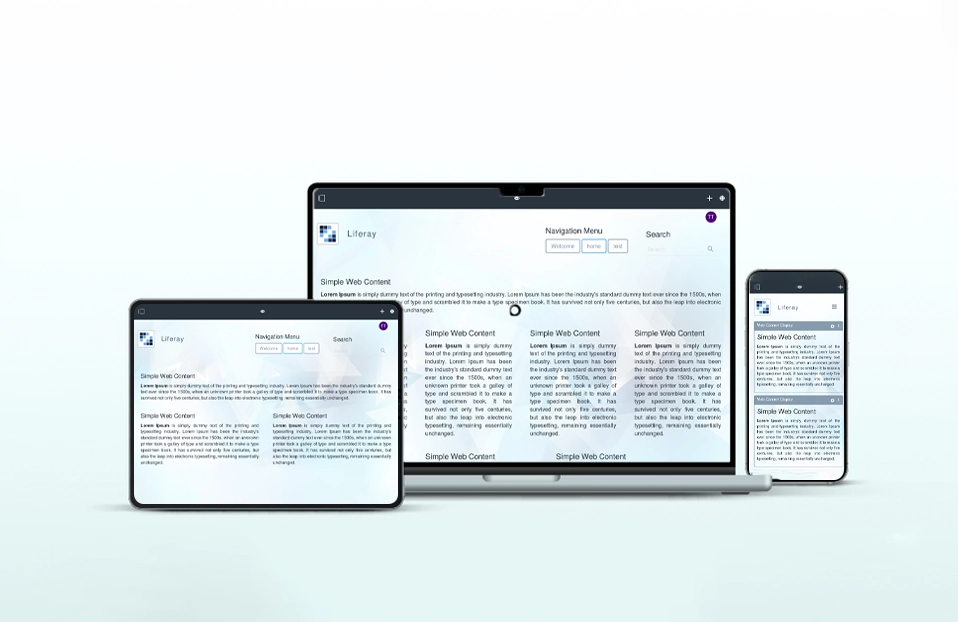
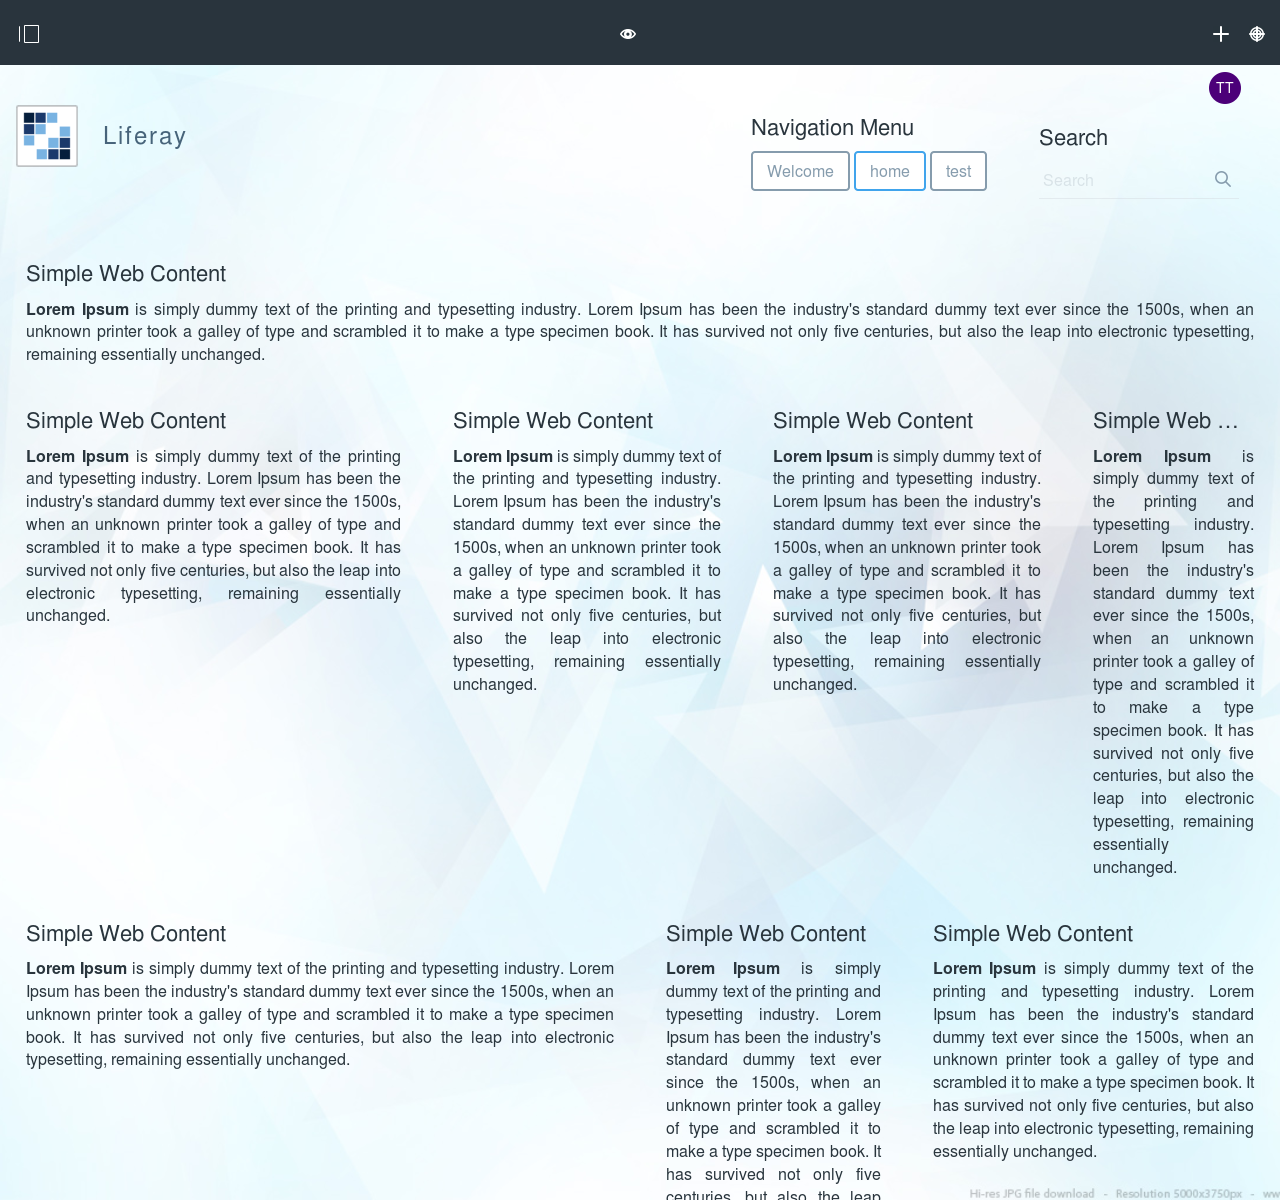
4. Your theme will look like as shown in the following screenshots:
Mobile View

Tablet View
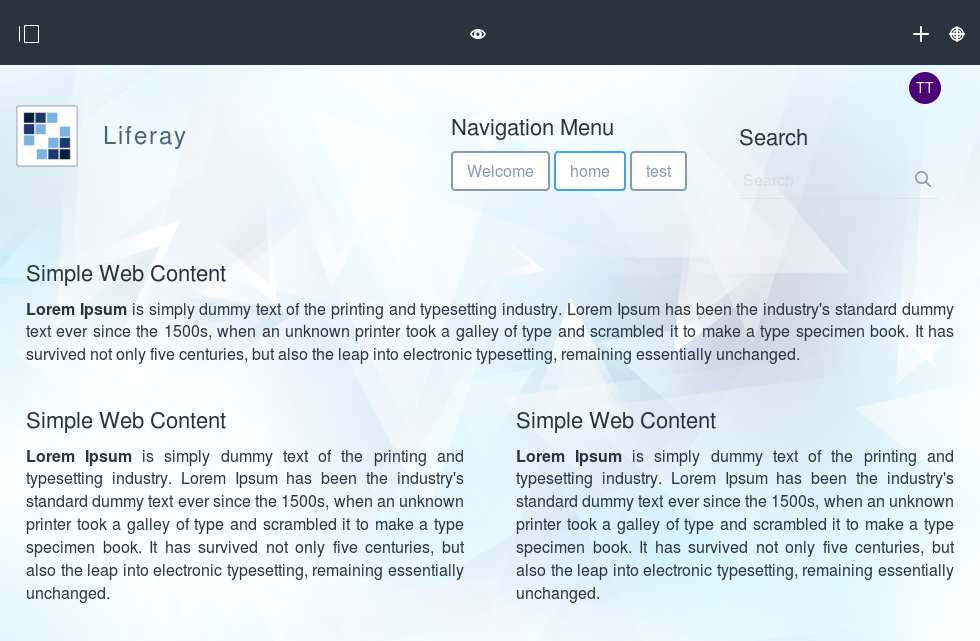
Desktop View
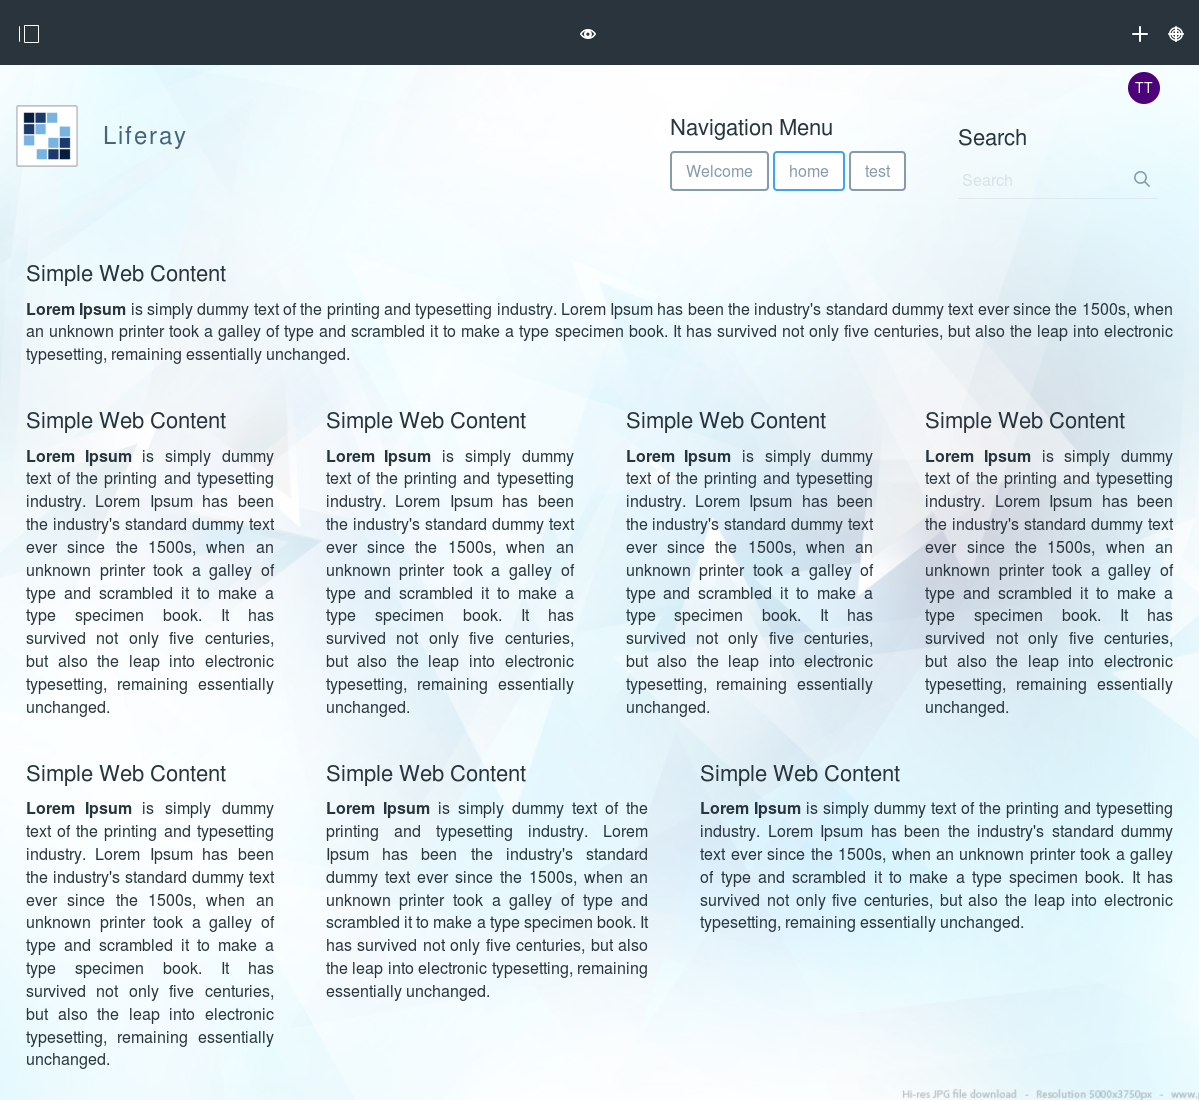
Large Desktop View
Download sample theme war from below link :
liferay7-theme.war