Portlet is pluggable UI component that can be displayed in the web portal. It’s simply a window that can be attached to portal and displayed without overlapping them on each other. For a complete description and understanding of the MVC Portlet, please visit
In this blog I have described all steps to create an MVC Portlet in Liferay DXP / 7 and also how to display records in “search container”. Please read “Prerequisite” before reading steps to create MVC Portlet.
- Create liferay workspace described as in Service Builder’s Blog.
- Create MVC Portlet by creating module project as follow
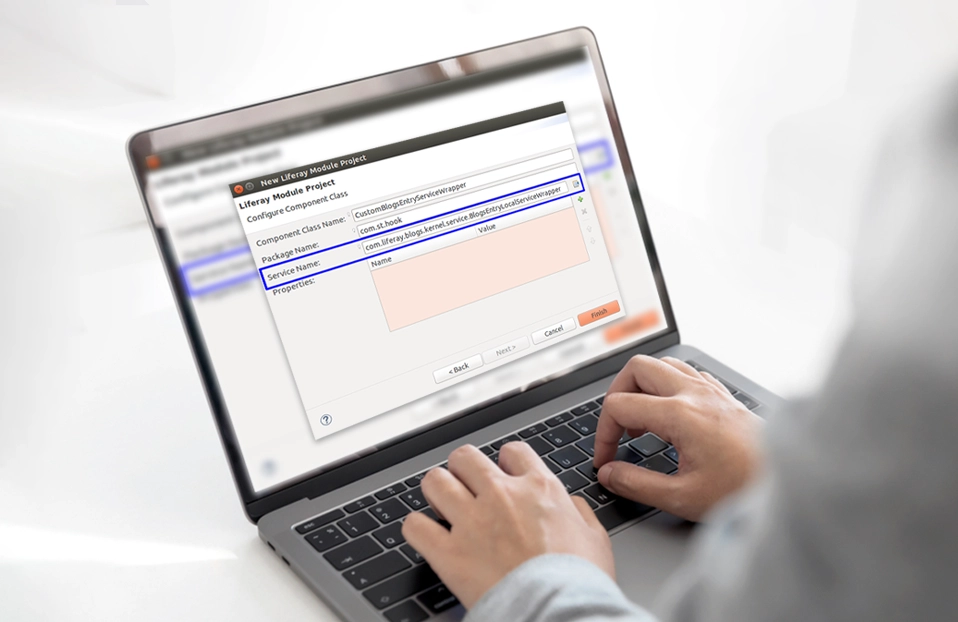
Right click on project-workspace in project explorer and then select New ==> Liferay Module Project
In “Project name” enter appropriate name for portlet e.g. “employee-mvc-portlet” and in “Project Template Name” select “mvcportlet”, then click finish button.
Now your portlet’s structure will look like following picture
Resource folder holds JSP pages that performs “view” part in our portlet.The java file “EmployeePortlet.java” is controller class which holds controller logic.You can perform necessary changes in those files as per your requirements.
Here we are going to use service builder in portlet so we need to add necessary dependencies in portlet’s gradle file(build.gradle)
Add following lines:
compile project(":modules:emp-service-builder:emp-service-builder-api")
compile project(":modules:emp-service-builder:emp-service-builder-service")
- Right Click on project-workspace project and select Gradle ==> Refresh Gradle Project
- Here in this portlet I am displaying content of database table “FOO_Employee” which I created in Service Builder’s blog.So my” view.jsp” will be as follow
Now open terminal window and navigate to your workspace’s root directory and run command “./gradlew formatSource”
Liferay has added a requirement their source formatting rules to all projects using the Liferay gradle tools.So you must need to run above command.
- To build project run “./gradlew build
- To create jar file for portlet run command “./gradlew deploy”
It’s time to deploy your portlet on liferay portal.Open File Explorer and navigate to your workspace’s root folder and then navigate as follows:
project-workspace ==> bundles ==> osgi ==> modules
You can find jar file for your portlet there e.g.”employee-mvc-portlet.jar” .Copy this file.
Start your tomcat server and navigate to deploy folder
e.g.liferay-ce-portal-7.0-ga2 ==> deploy
Now,paste the jar file(e.g“employee-mvc-portlet.jar”) of your portlet here.Your portlet will be automatically deployed on the server.
- You can find sever logs as follows
Once you add portlet to your Liferay portal it will be look like follow:
Please find source code for above MVC portlet and service builder portlet here .


