What is Service Builder ?
Service builder is tool which facilitates automatic creation of interfaces and classes that are used by portlet or portal.The input to the Service builder is an XML file, typically /ext/ext-ejb/service.xml. For a complete description and understanding of the Service builder, please visit
https://help.liferay.com/hc/en-us/articles/360017899492-What-is-Service-Builder-
About this Blog
Here, I have described all steps from scratch to create a Service Builder Portlet in liferay DXP / 7. I have created a database named “employee” in MySql. After successful deployment of service builder portlet, table described in service.xml will be created in “employee” database.
Prerequisite
Before starting this blog, basic knowledge about Liferay IDE, Liferay Portal and Service Builder is required.
Environment requirements
- Liferay IDE v3.0.1
- Liferay Plugins SDK 7.0 & Liferay Portal 7.0 CE GA2+ / Liferay DXP
- JDK 8
Creating New Liferay Workspace
- Open Liferay IDE and change Eclipse’s perspective to Liferay Workspace
- Now, create a liferay workspace as follows
Select ==> File ==> New ==> Liferay Workspace Project
Enter an appropriate name in Workspace name e.g. “project-workspace” and click on finish button
Creating Service Builder Module
- To create a Service Builder, add new module project
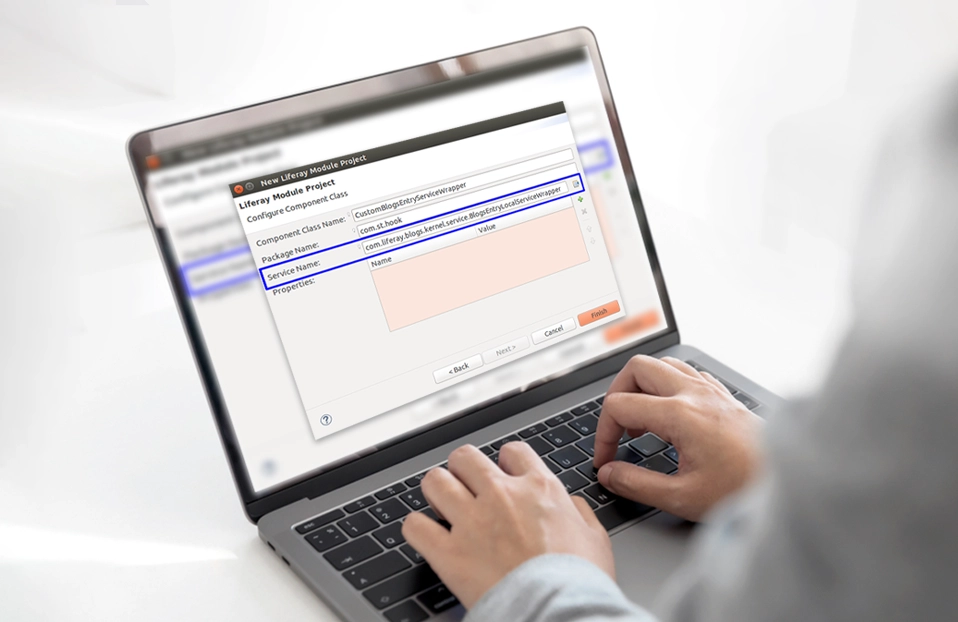
Right click on project-workspace project in project explorer and then select New ==> Liferay Module Project
- In Project Name enter appropriate name e.g.”emp-service-builder” and in Project Template Name select “servicebuilder”, then click finish button.
Now, you may face error displayed in following image
- To resolve error, Open File Explorer and navigate to file described in pop-up project-workspace/modules/li>
/emp-service-builder/build.gradle
Open build.gradle file and it will look like follow
Now, comment selected line and save file. You can comment that line by adding “//” in front of line.
e.g. “//apply plugin: "com.liferay.portal.tools.service.builder"
- Right Click on project-workspace project and select Gradle ==> Refresh Gradle Project
The project explorer will look like below:
- Modify “service.xml” as per your requirement
- Connect the server with database by creating “portal-ext.properties” file and setting properties. If “portal-ext.properties” already exists then perform only necessary changes.
Here, my database’s name is employee.
- Now open terminal window and navigate to your workspace’s root directory and run command “./gradlew formatSource”
Liferay has added a requirement of their source formatting rules to all projects using the Liferay gradle tools.
So, you must need to run above command.
- Run command “./gradlew buildService” to create model classes.
After running buildService command your directory structure will look like follow
You may find error in service ==> persistence ==> impl ==> EmployeePersistenceImpl.java file.
In that class replace all “nullModel” with “null” to resolve error.
Note:Whenever you run buildService Command this error will appear.
- To build project run “./gradlew build”
- To create jar file for service builder run command “./gradlew deploy”
- It’s time to deploy your service builder on liferay portal. Open File Explorer and navigate to your workspace’s root folder and then navigate as follows:
project-workspace ==> bundles ==> osgi ==> module
You can find jar file for your service builder there e.g.”emp-service-builder-api.jar” and “emp-service-builder- service.jar” Copy those files.
- Start your tomcat server and navigate to deploy folder
e.g.liferay-ce-portal-7.0-ga2 ==> deploy
Now, paste jar files(e.g .”emp-service-builder-api.jar” and “emp-service-builder-service.jar”.) of your service builder here. Your service builder will be automatically deployed on the server.
- You can find sever logs as follows
- After successful deployment of service builder on liferay portal, you can check whether your tables are created in database or not.
e.g. Here “FOO_Employee” table will be created in database along with portal’s tables.
Please find source code for above service builder portlet in my next blog.
In my next blog, I have created an MVC Portlet in liferay DXP / 7 which shows the content of FOO_Employee in search container.